Tray applications
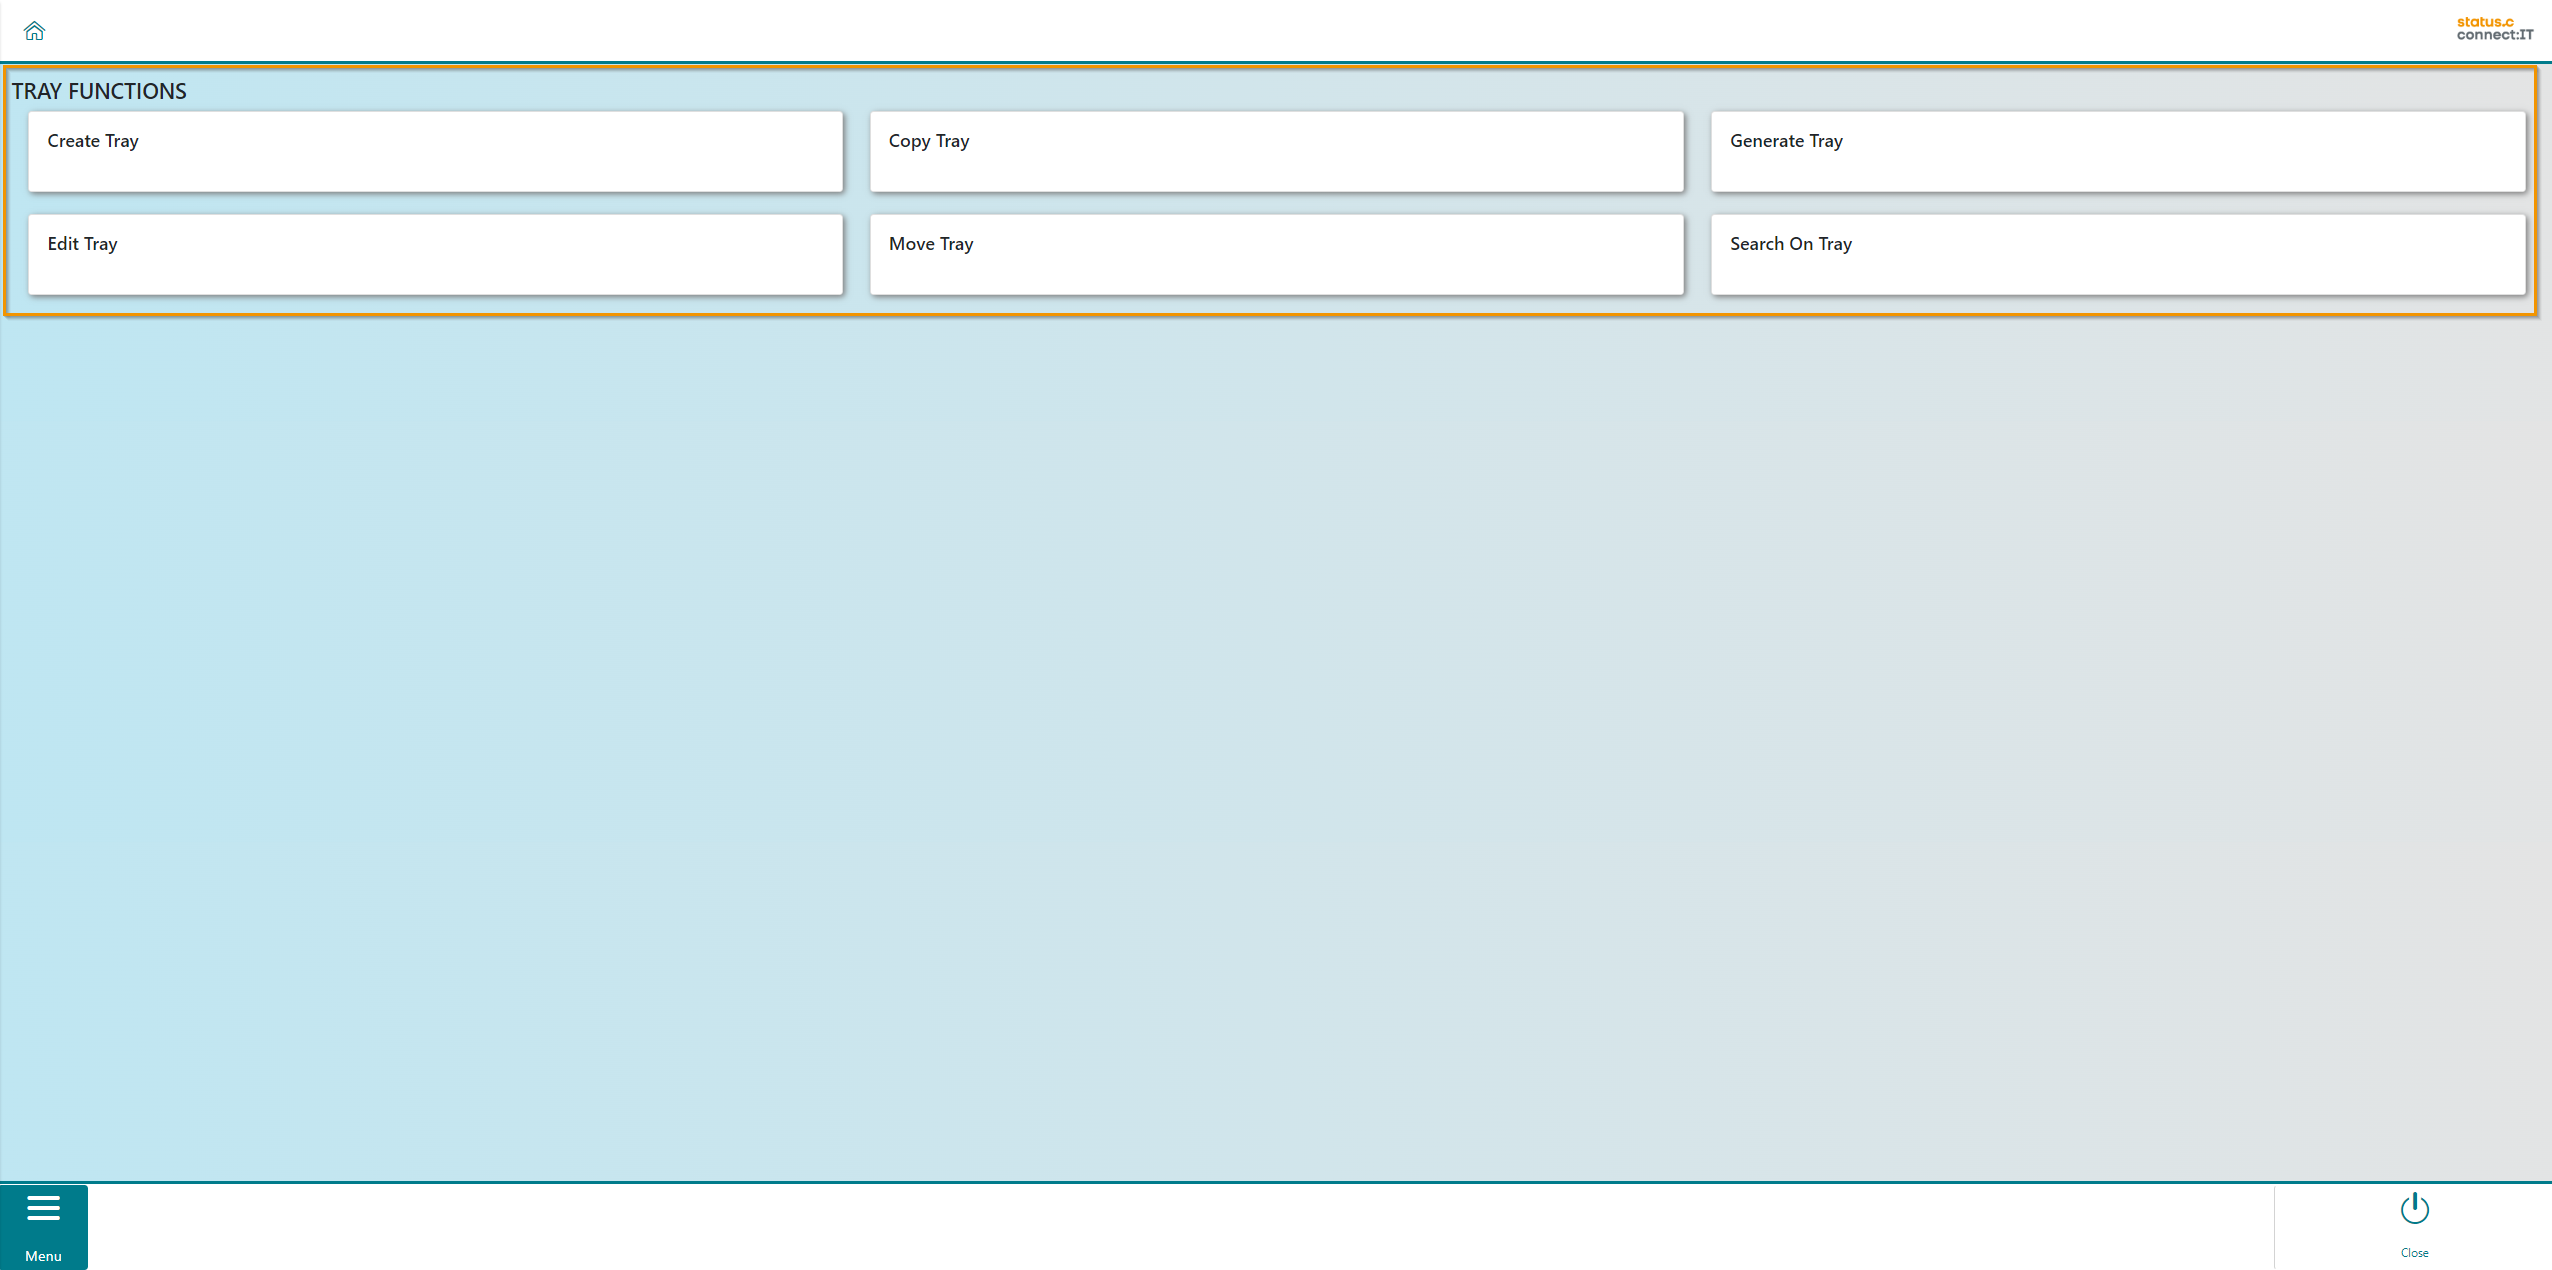
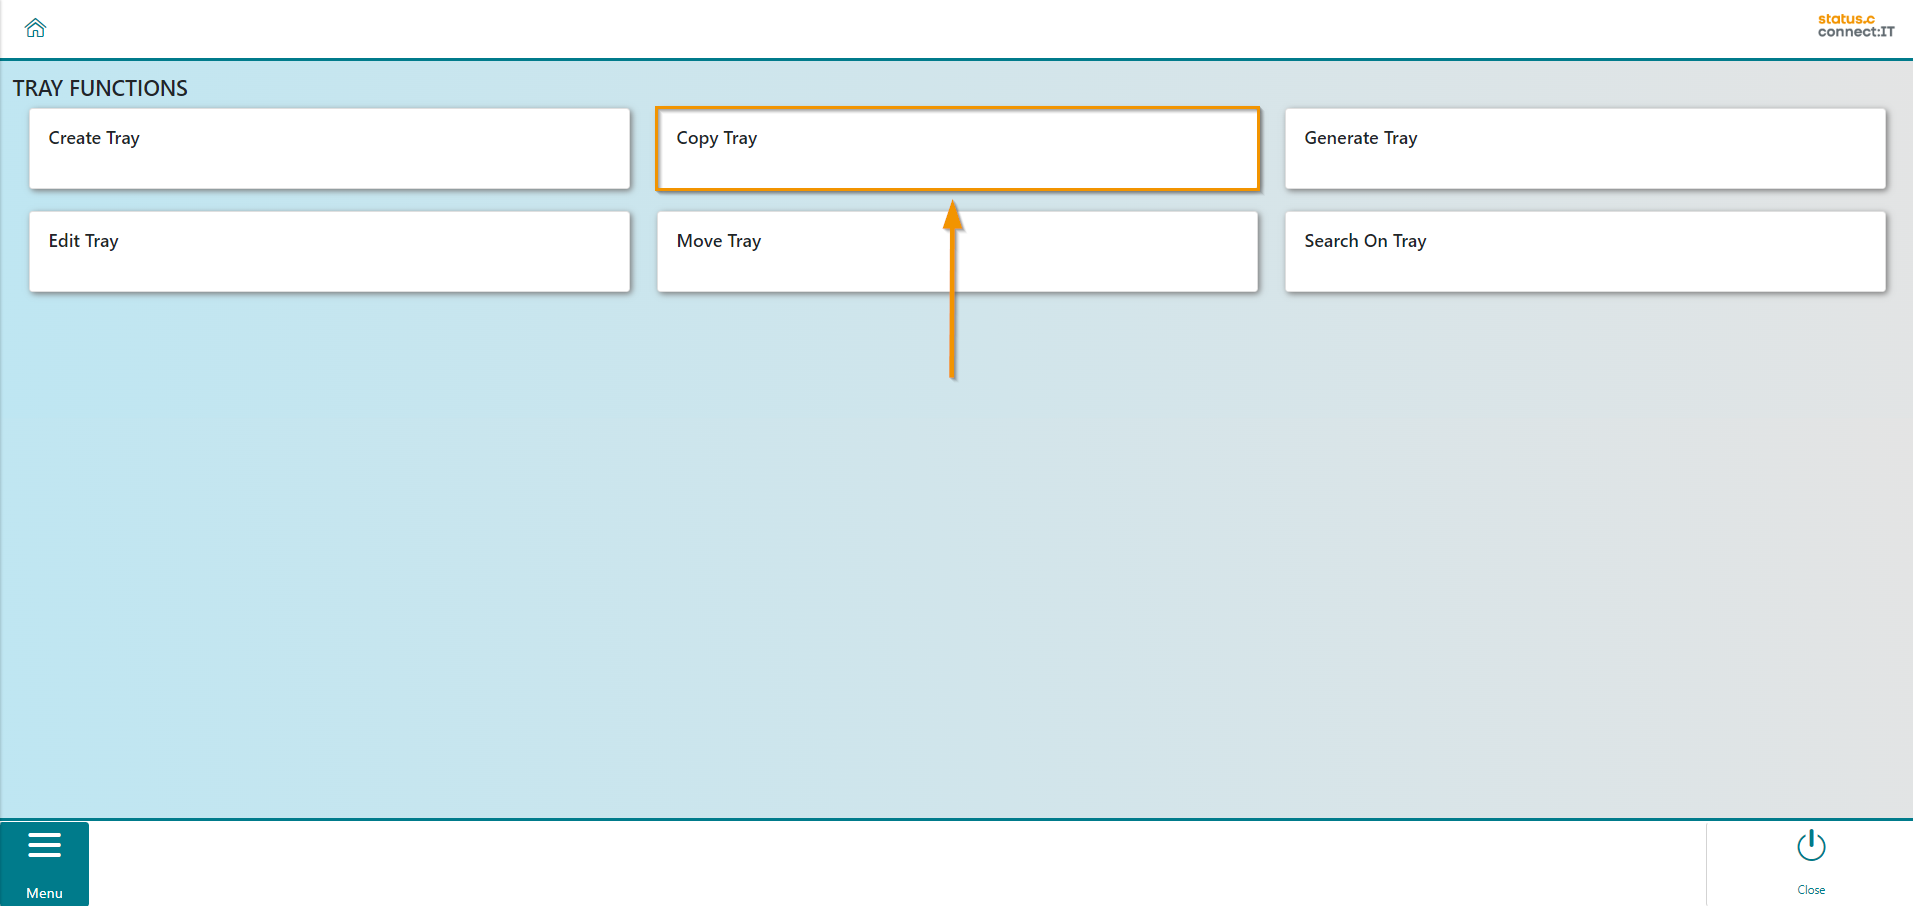
Tray Apps contains several functions for managing trays. These include creating, copying, generating, editing and moving trays. There is also a function for searching on trays.
You can access the respective applications via the following overview.
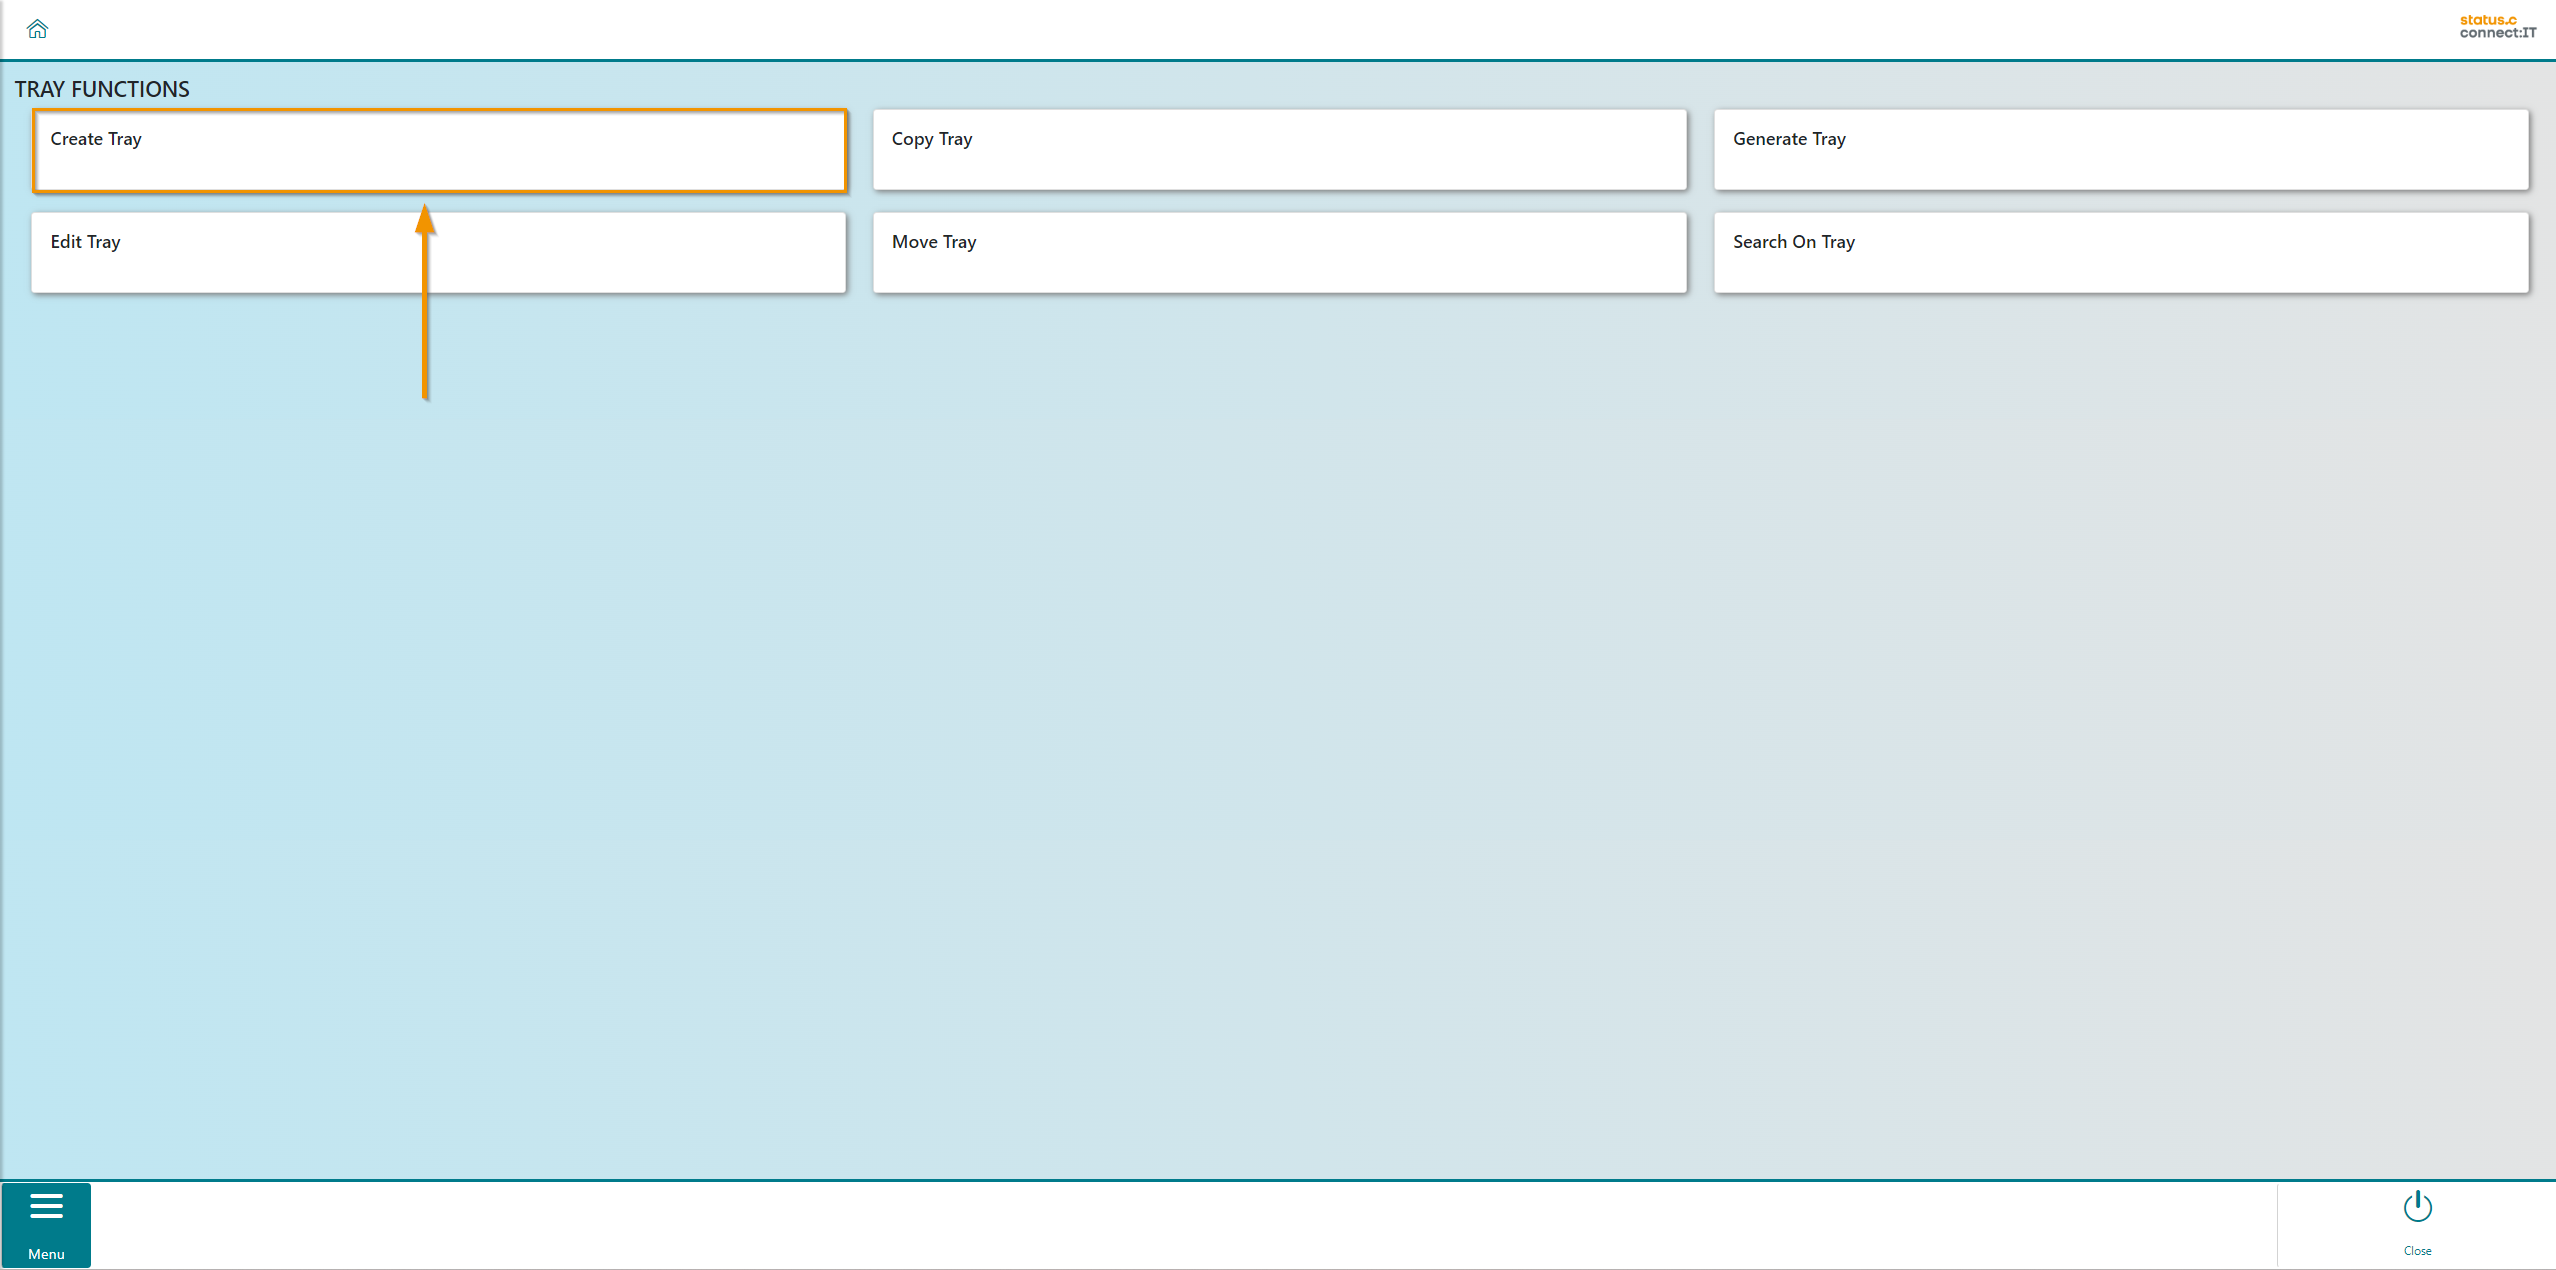
Create Tray
Trays and their bins can be created and managed directly in connect:IT. The creation of a new tray starts with the selection of the corresponding app.
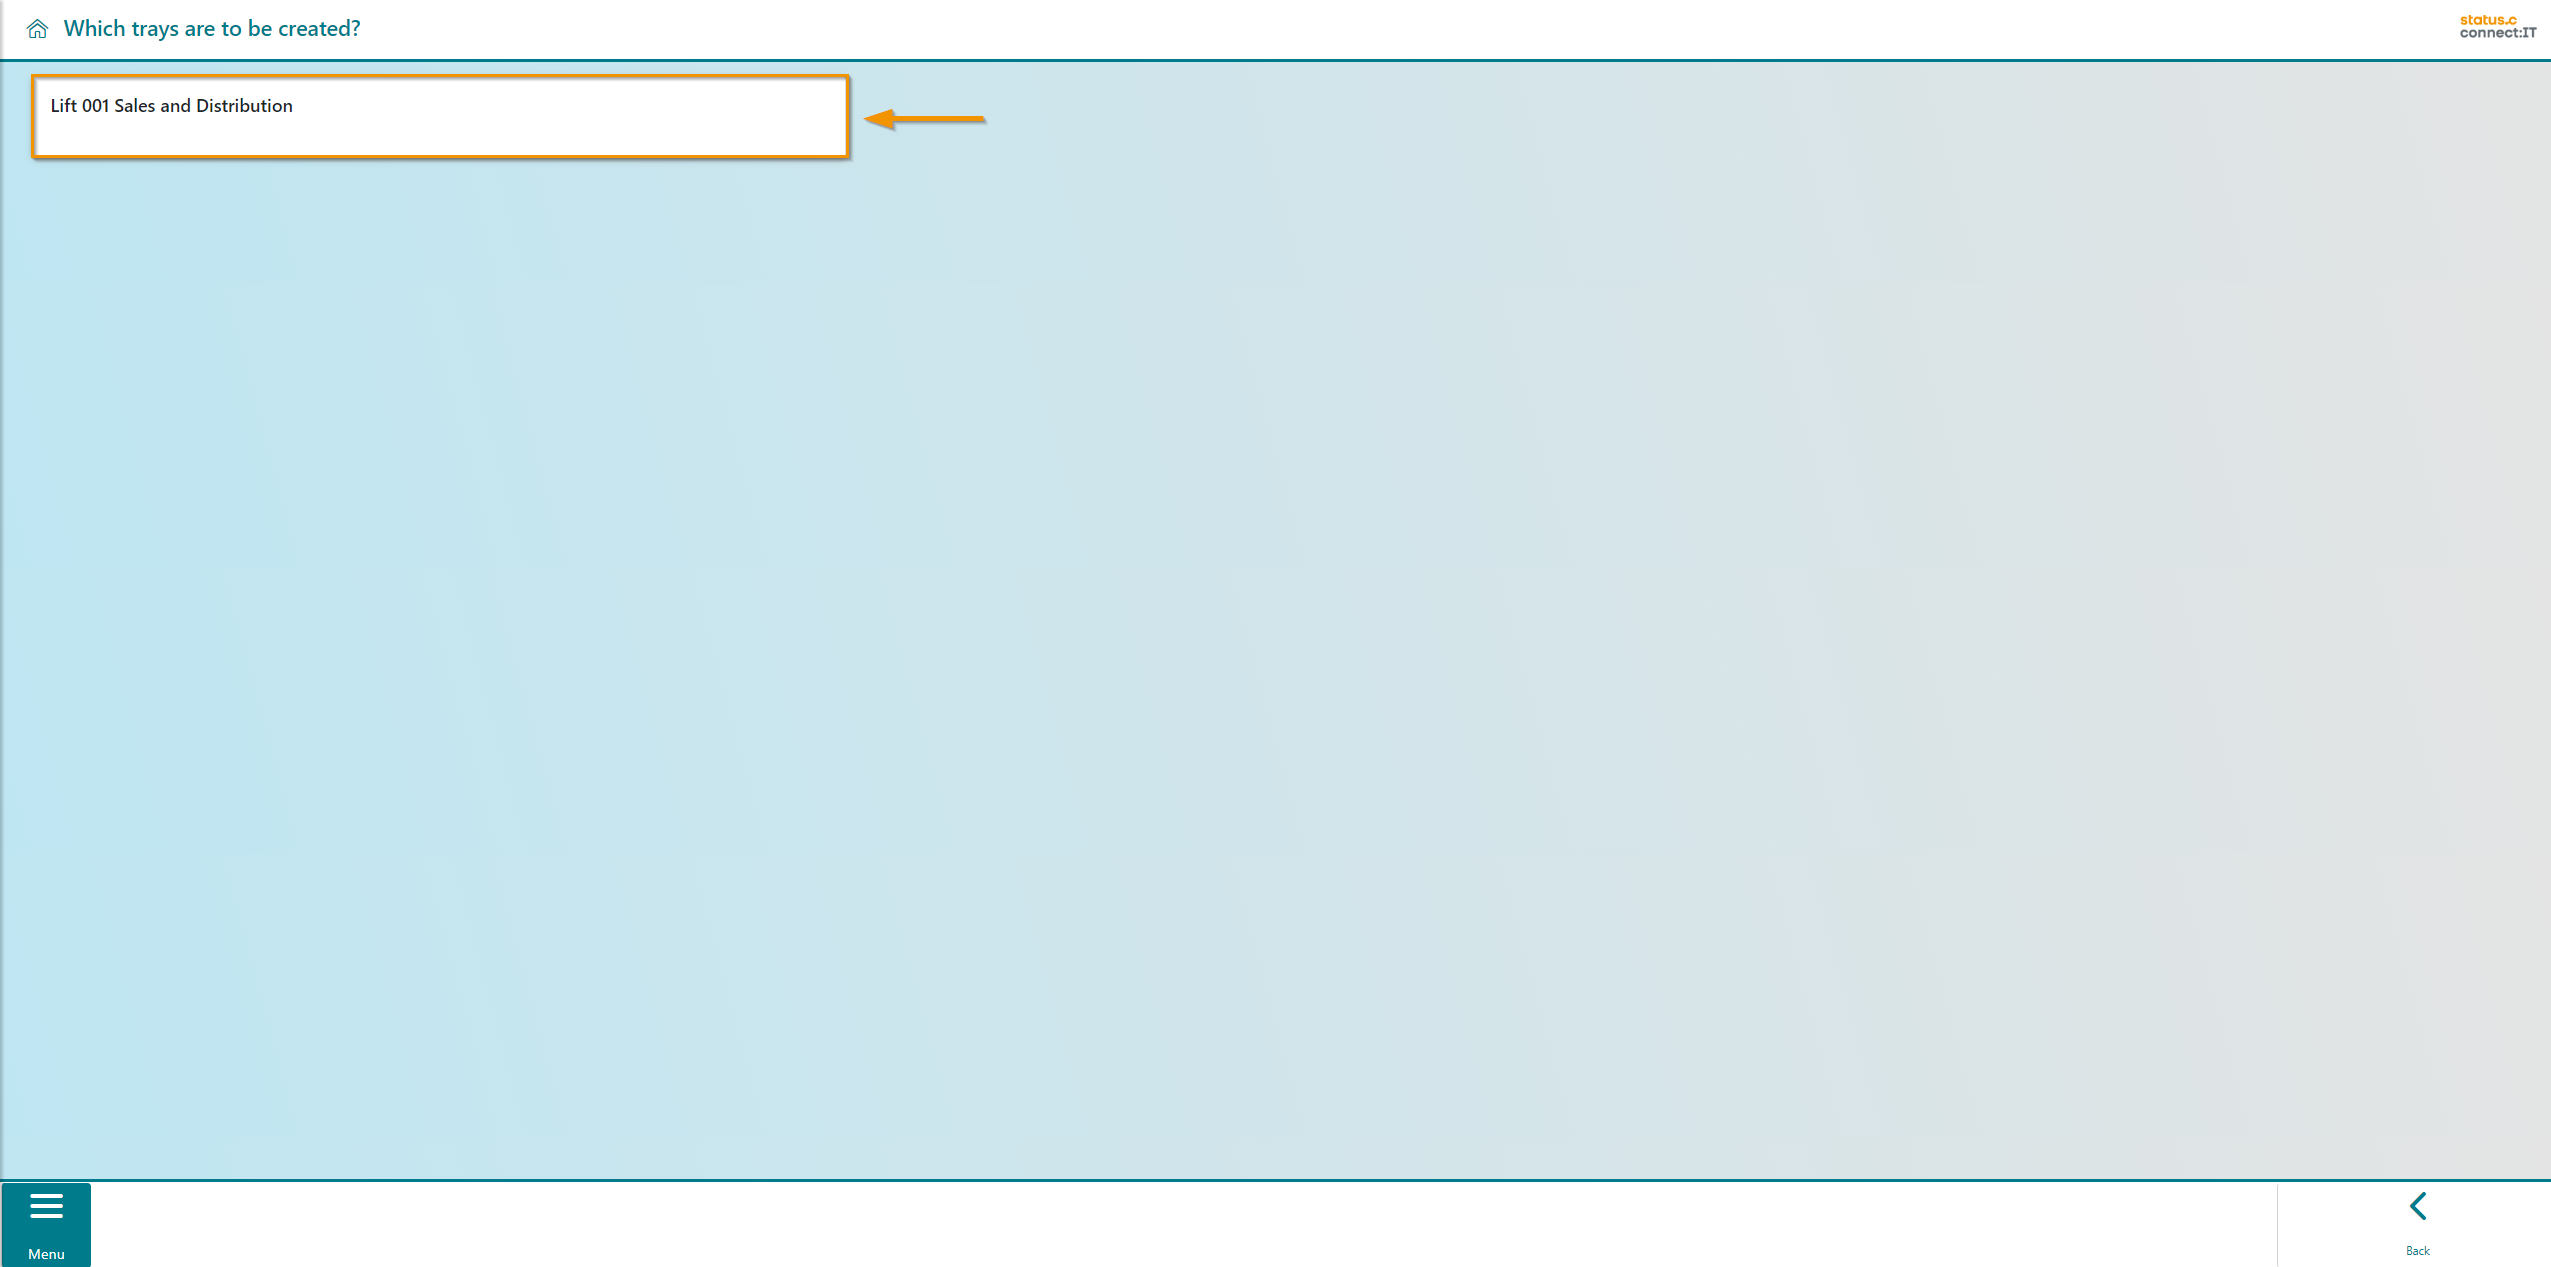
Now select the lift whose trays are to be edited. In the example, the first one is selected.
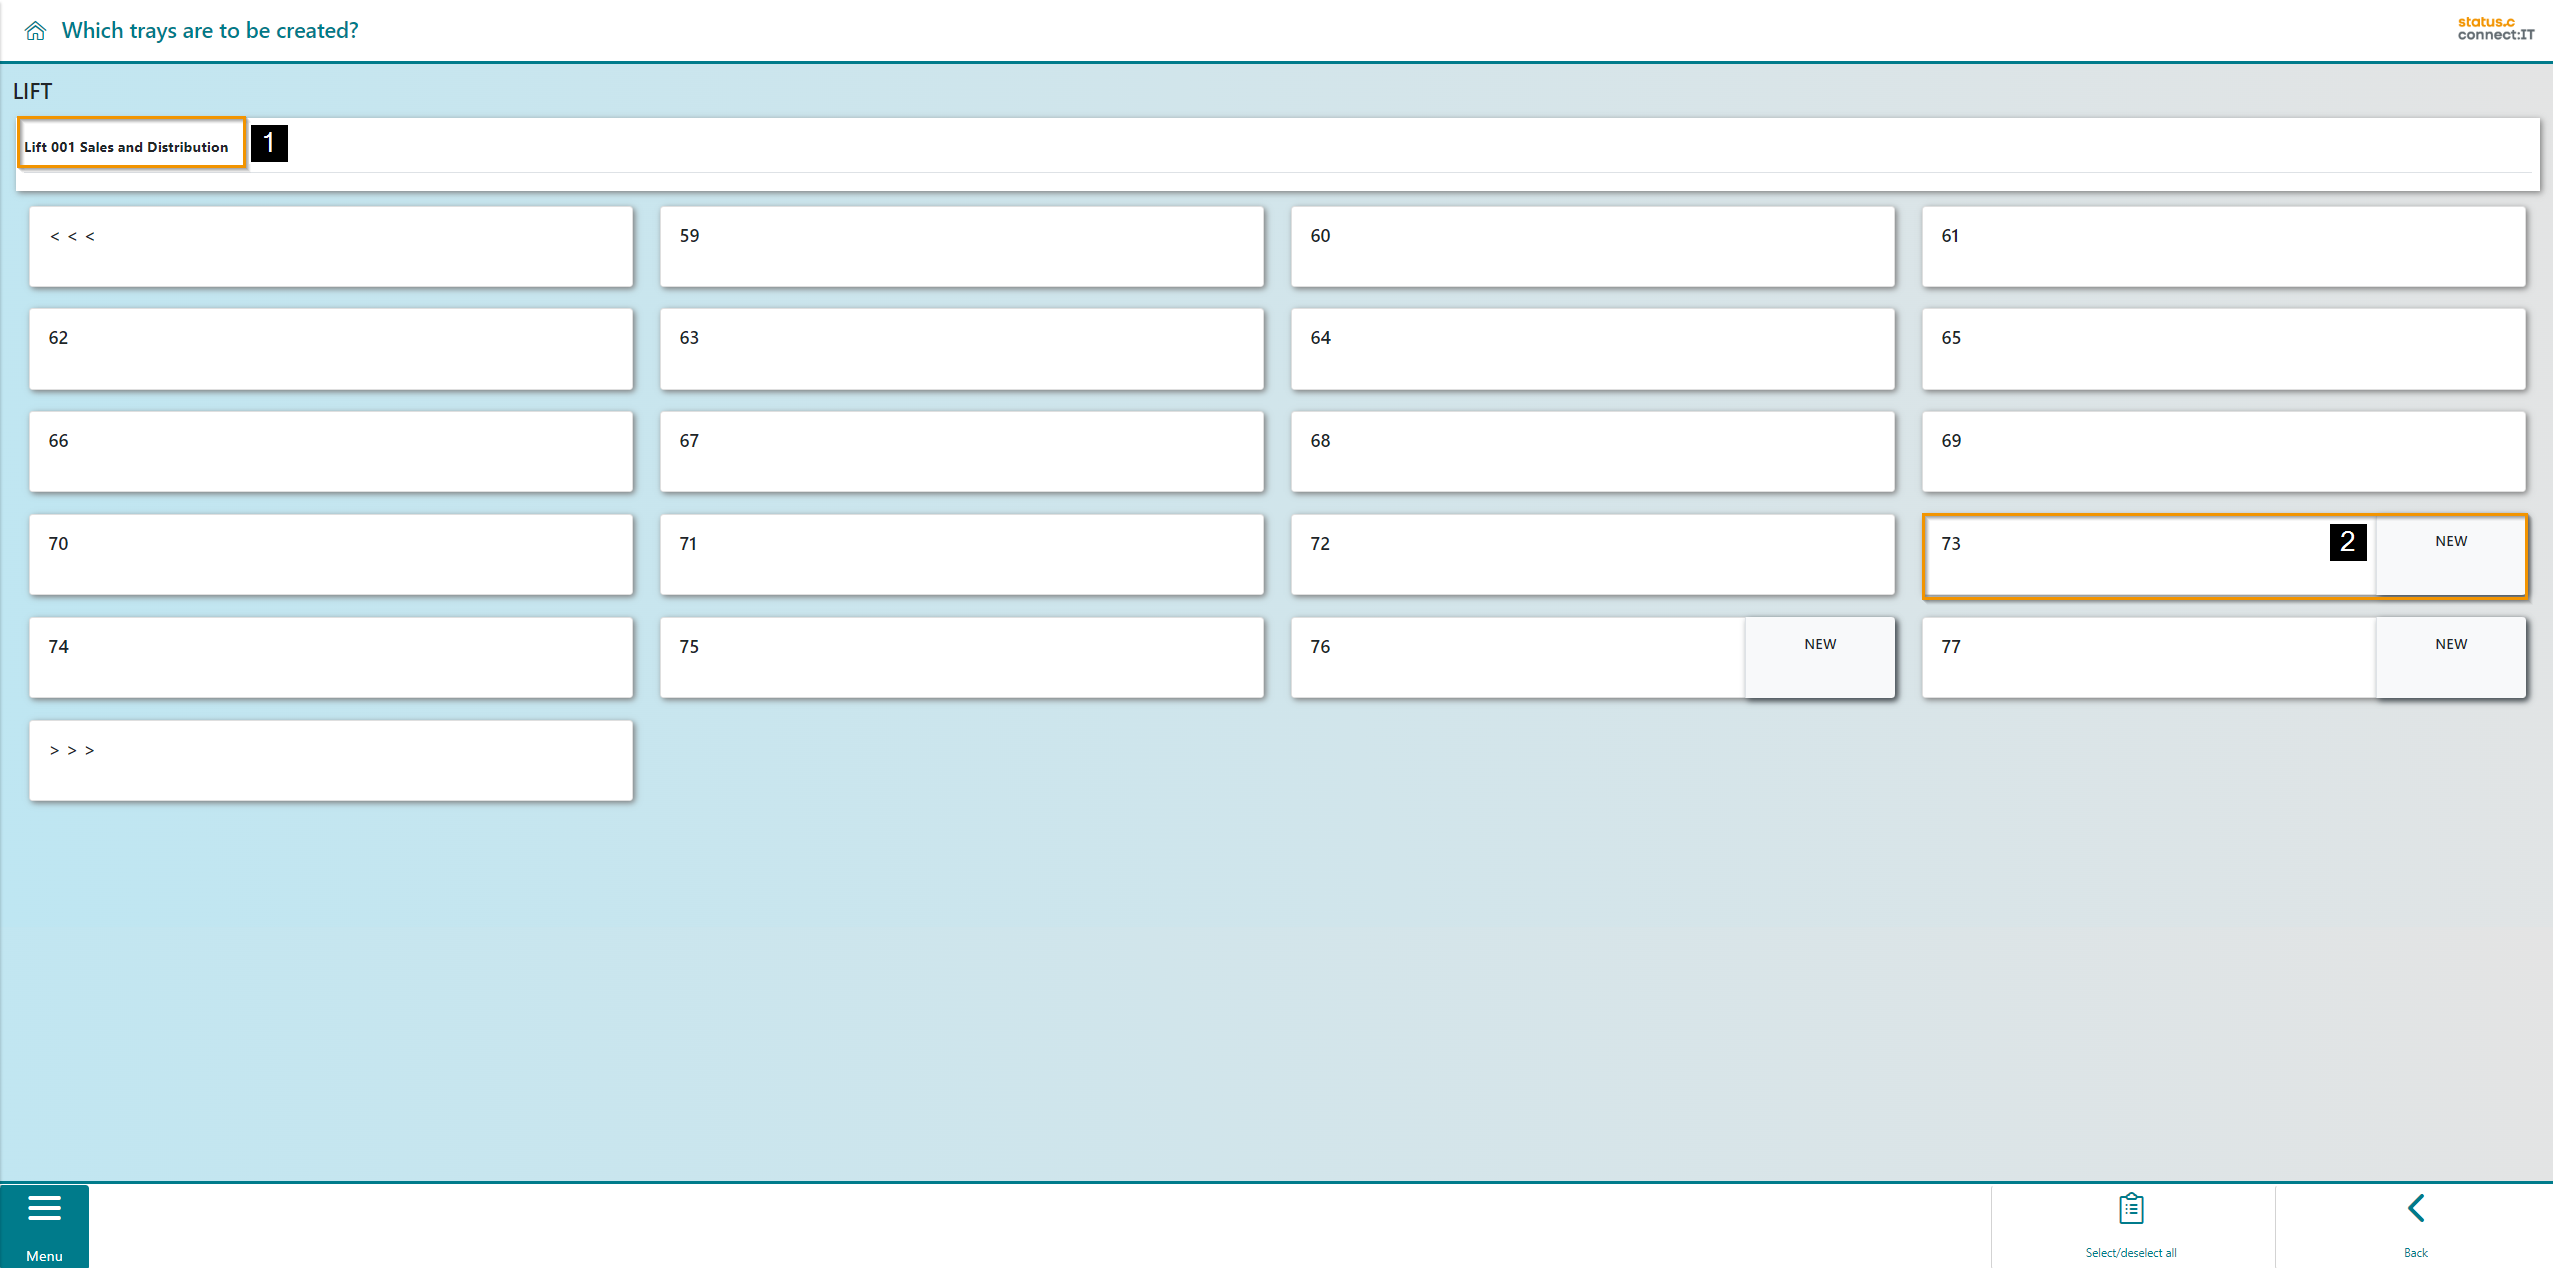
The trays of the respective lift (1) are now displayed here. Trays 1-72 have already been created. Tray 73 is the first available new tray. Available trays can be recognized by the label "NEW".
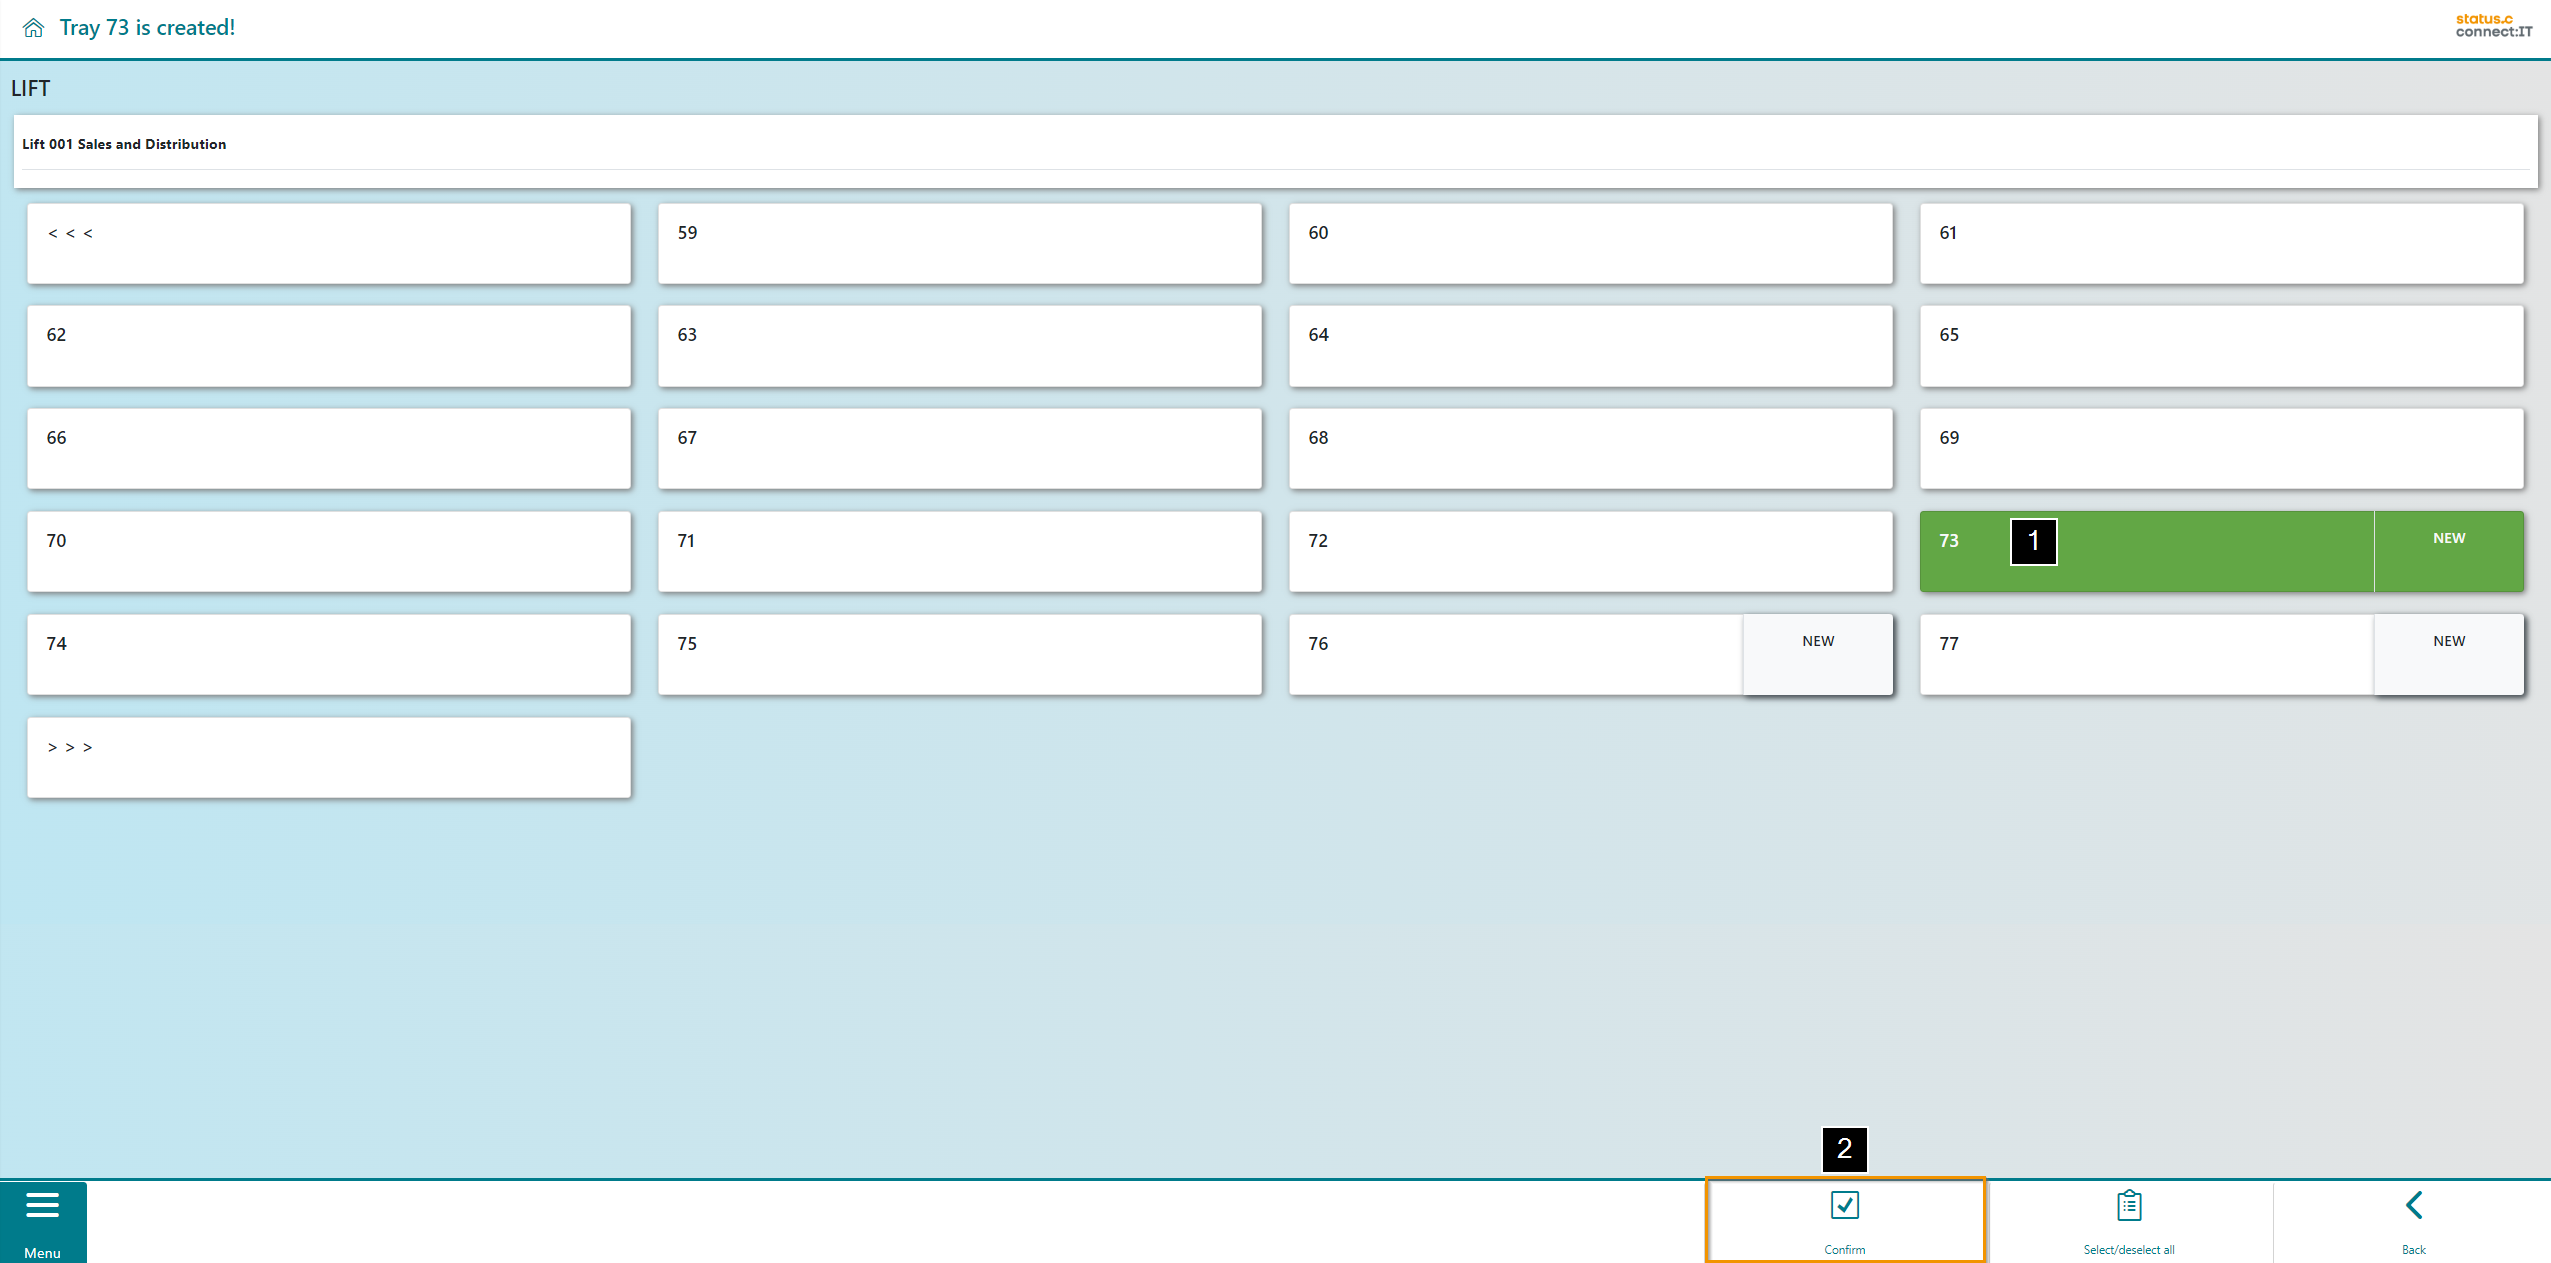
One of the available trays can now be selected, after which the tray is graphically highlighted (1) and a confirm button is displayed in the navigation bar (2).
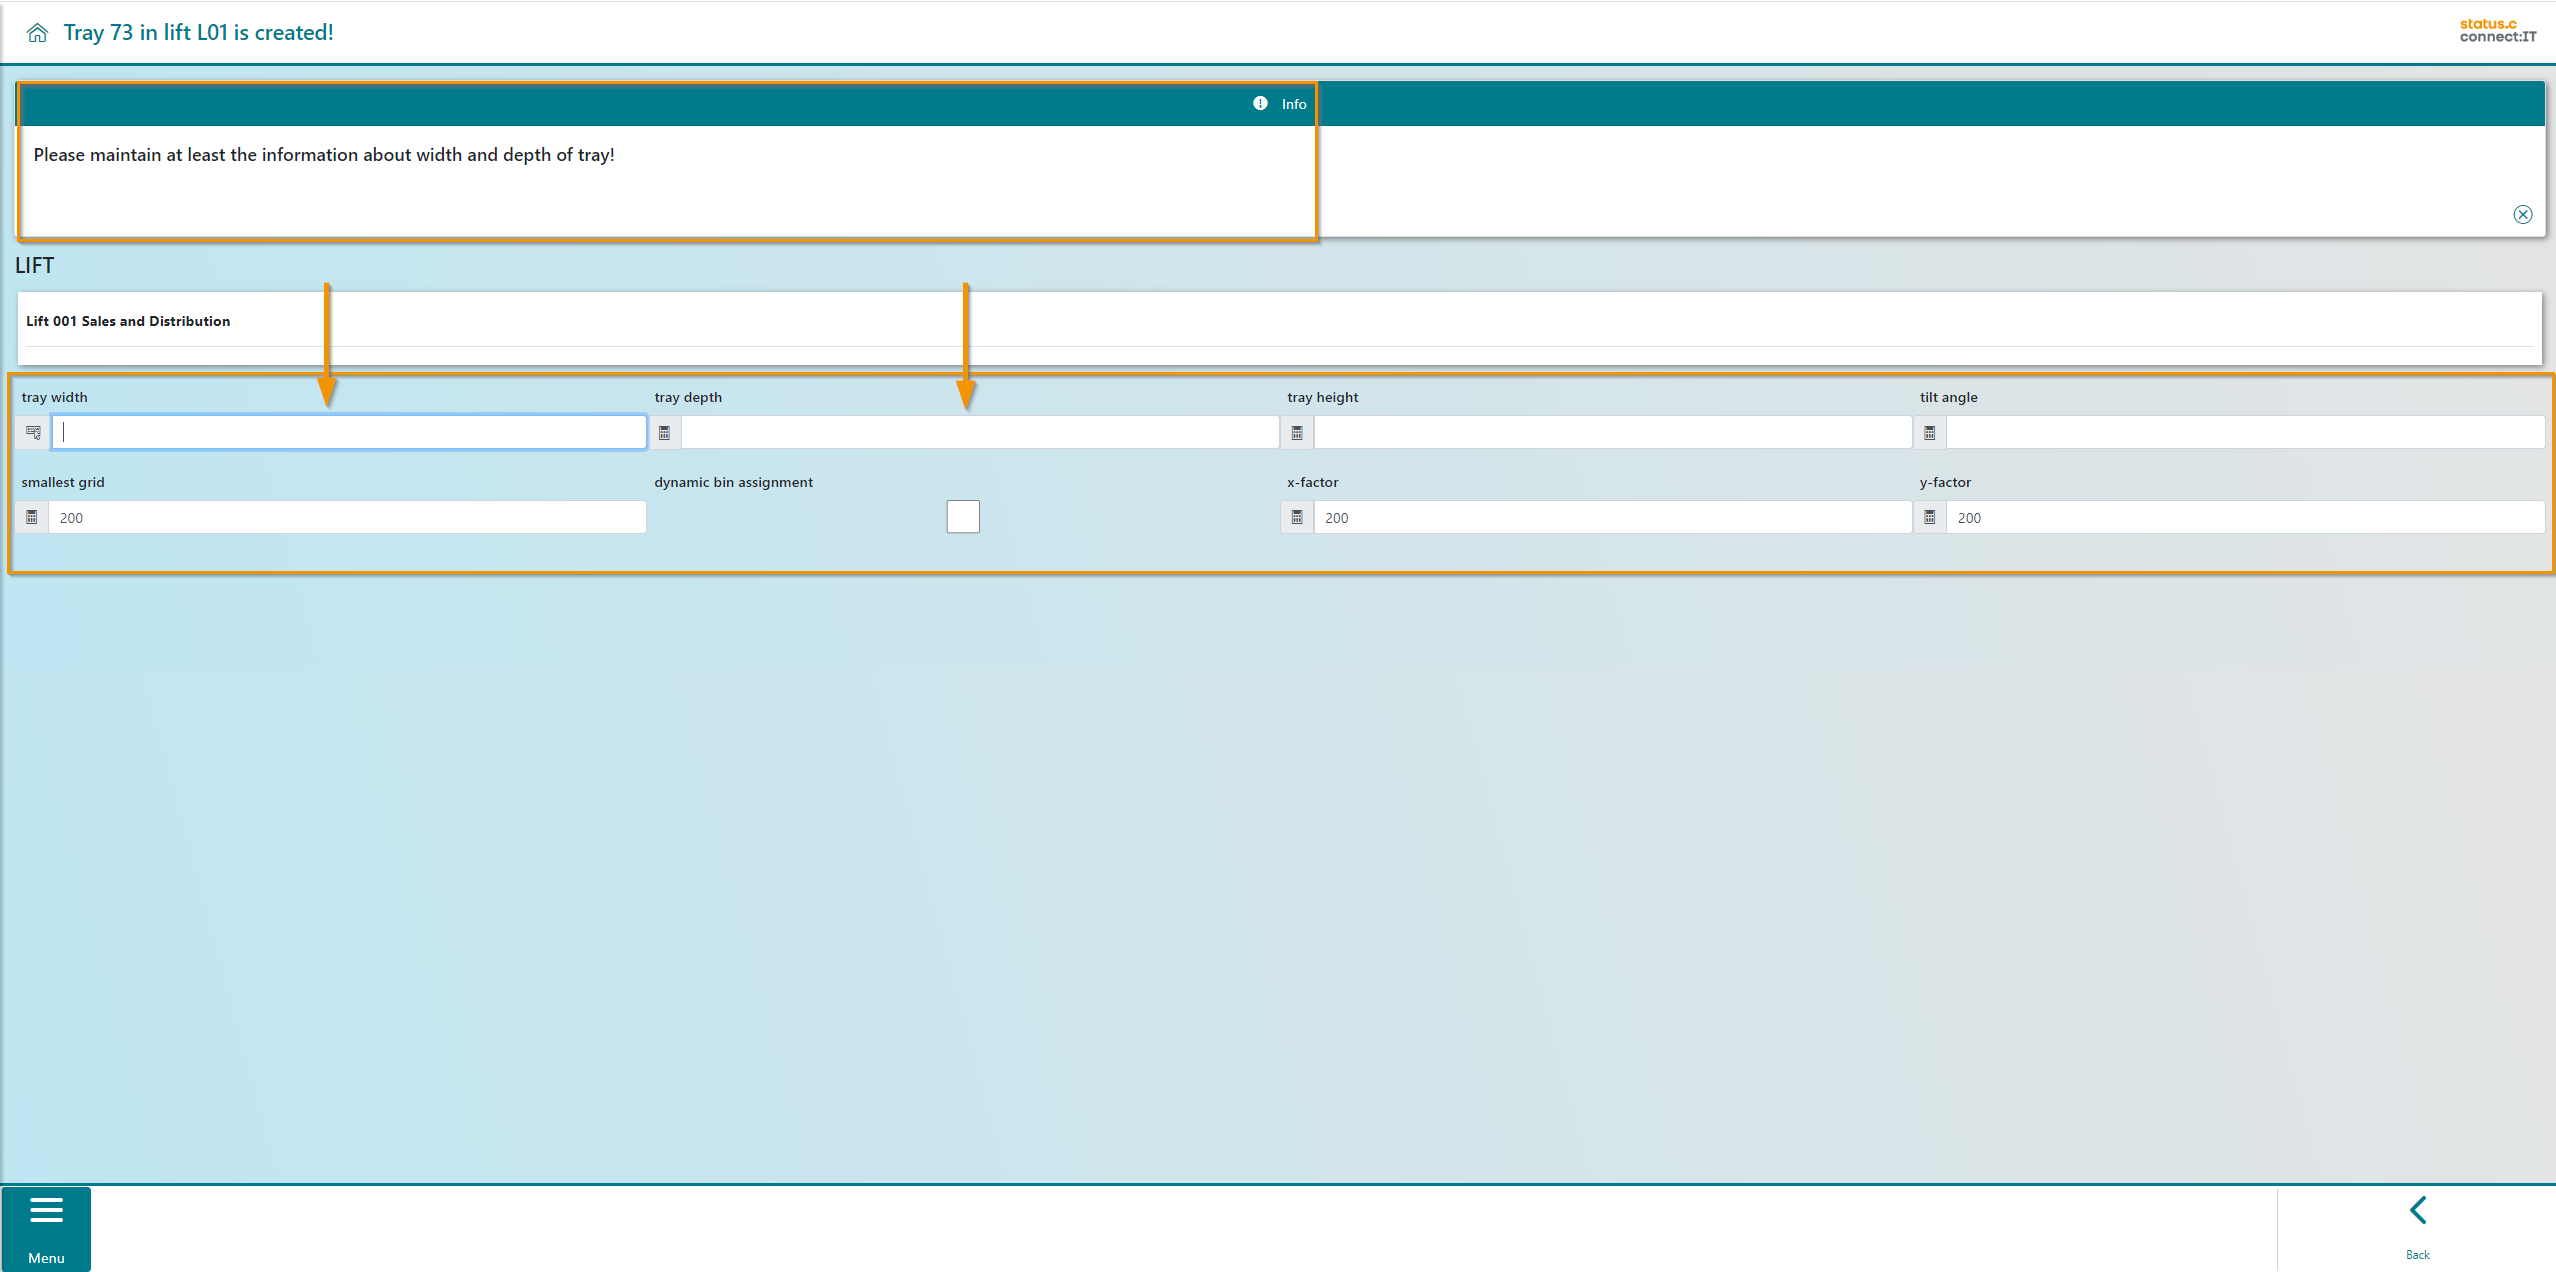
On the next screen, the user is asked to maintain the dimensions of the tray. At least the width and depth should be entered.
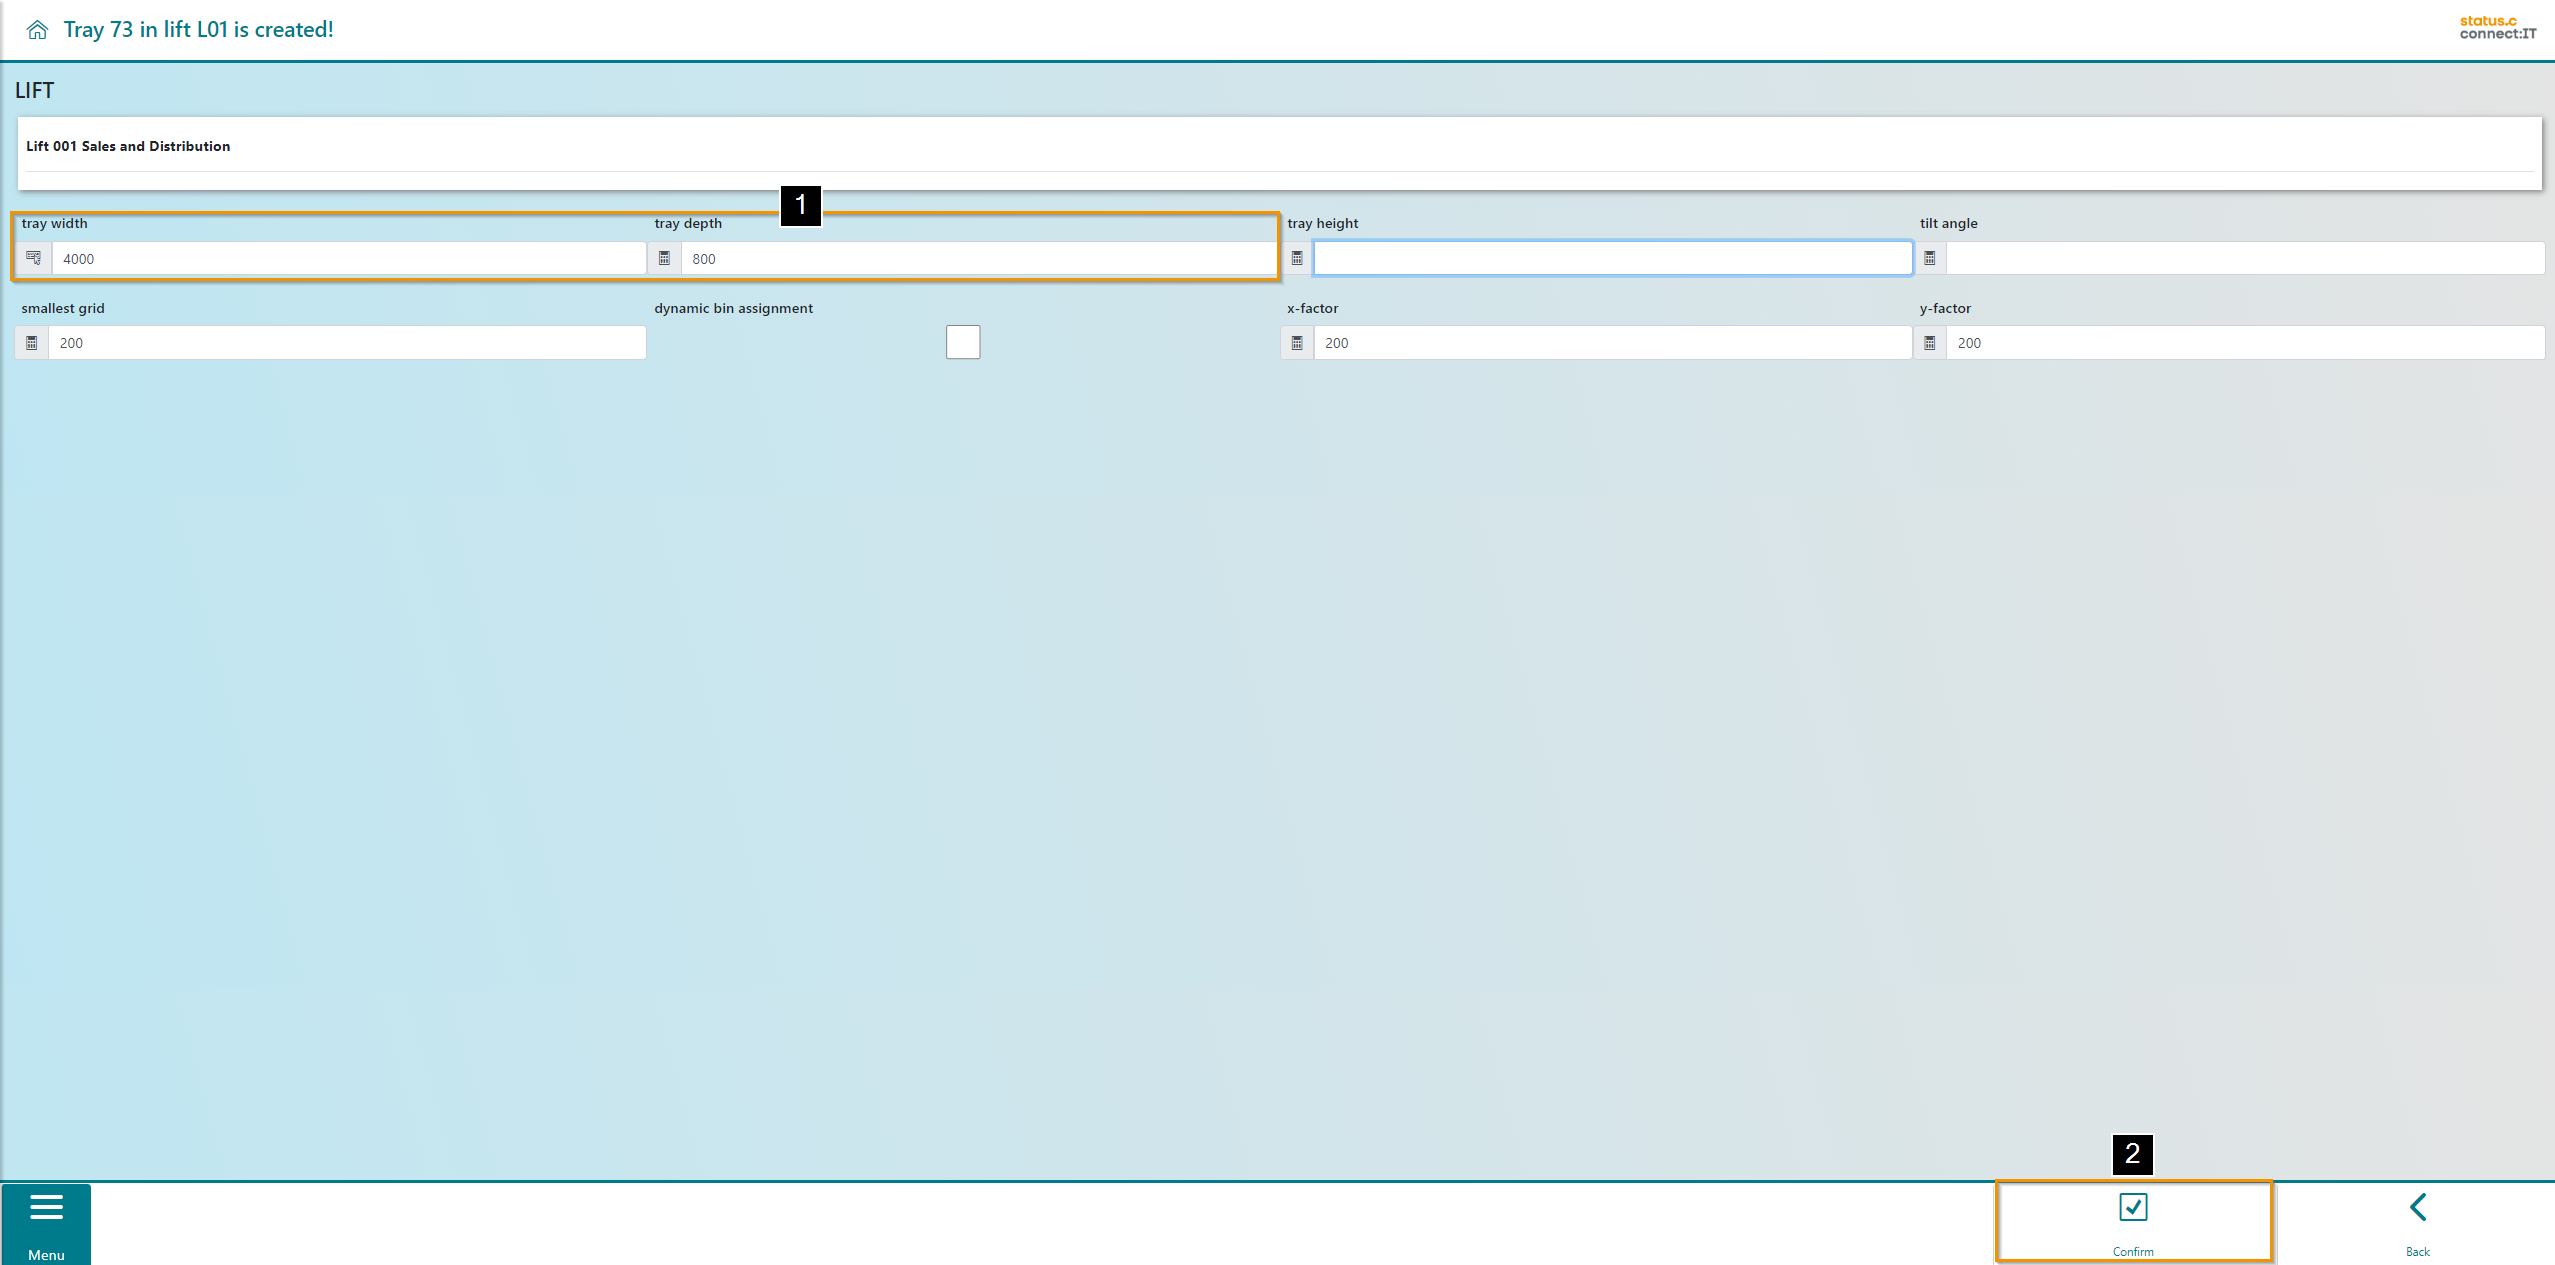
As soon as the width and depth have been input and confirmed with Enter (1), the "Confirm" button appears for the user to select (2).
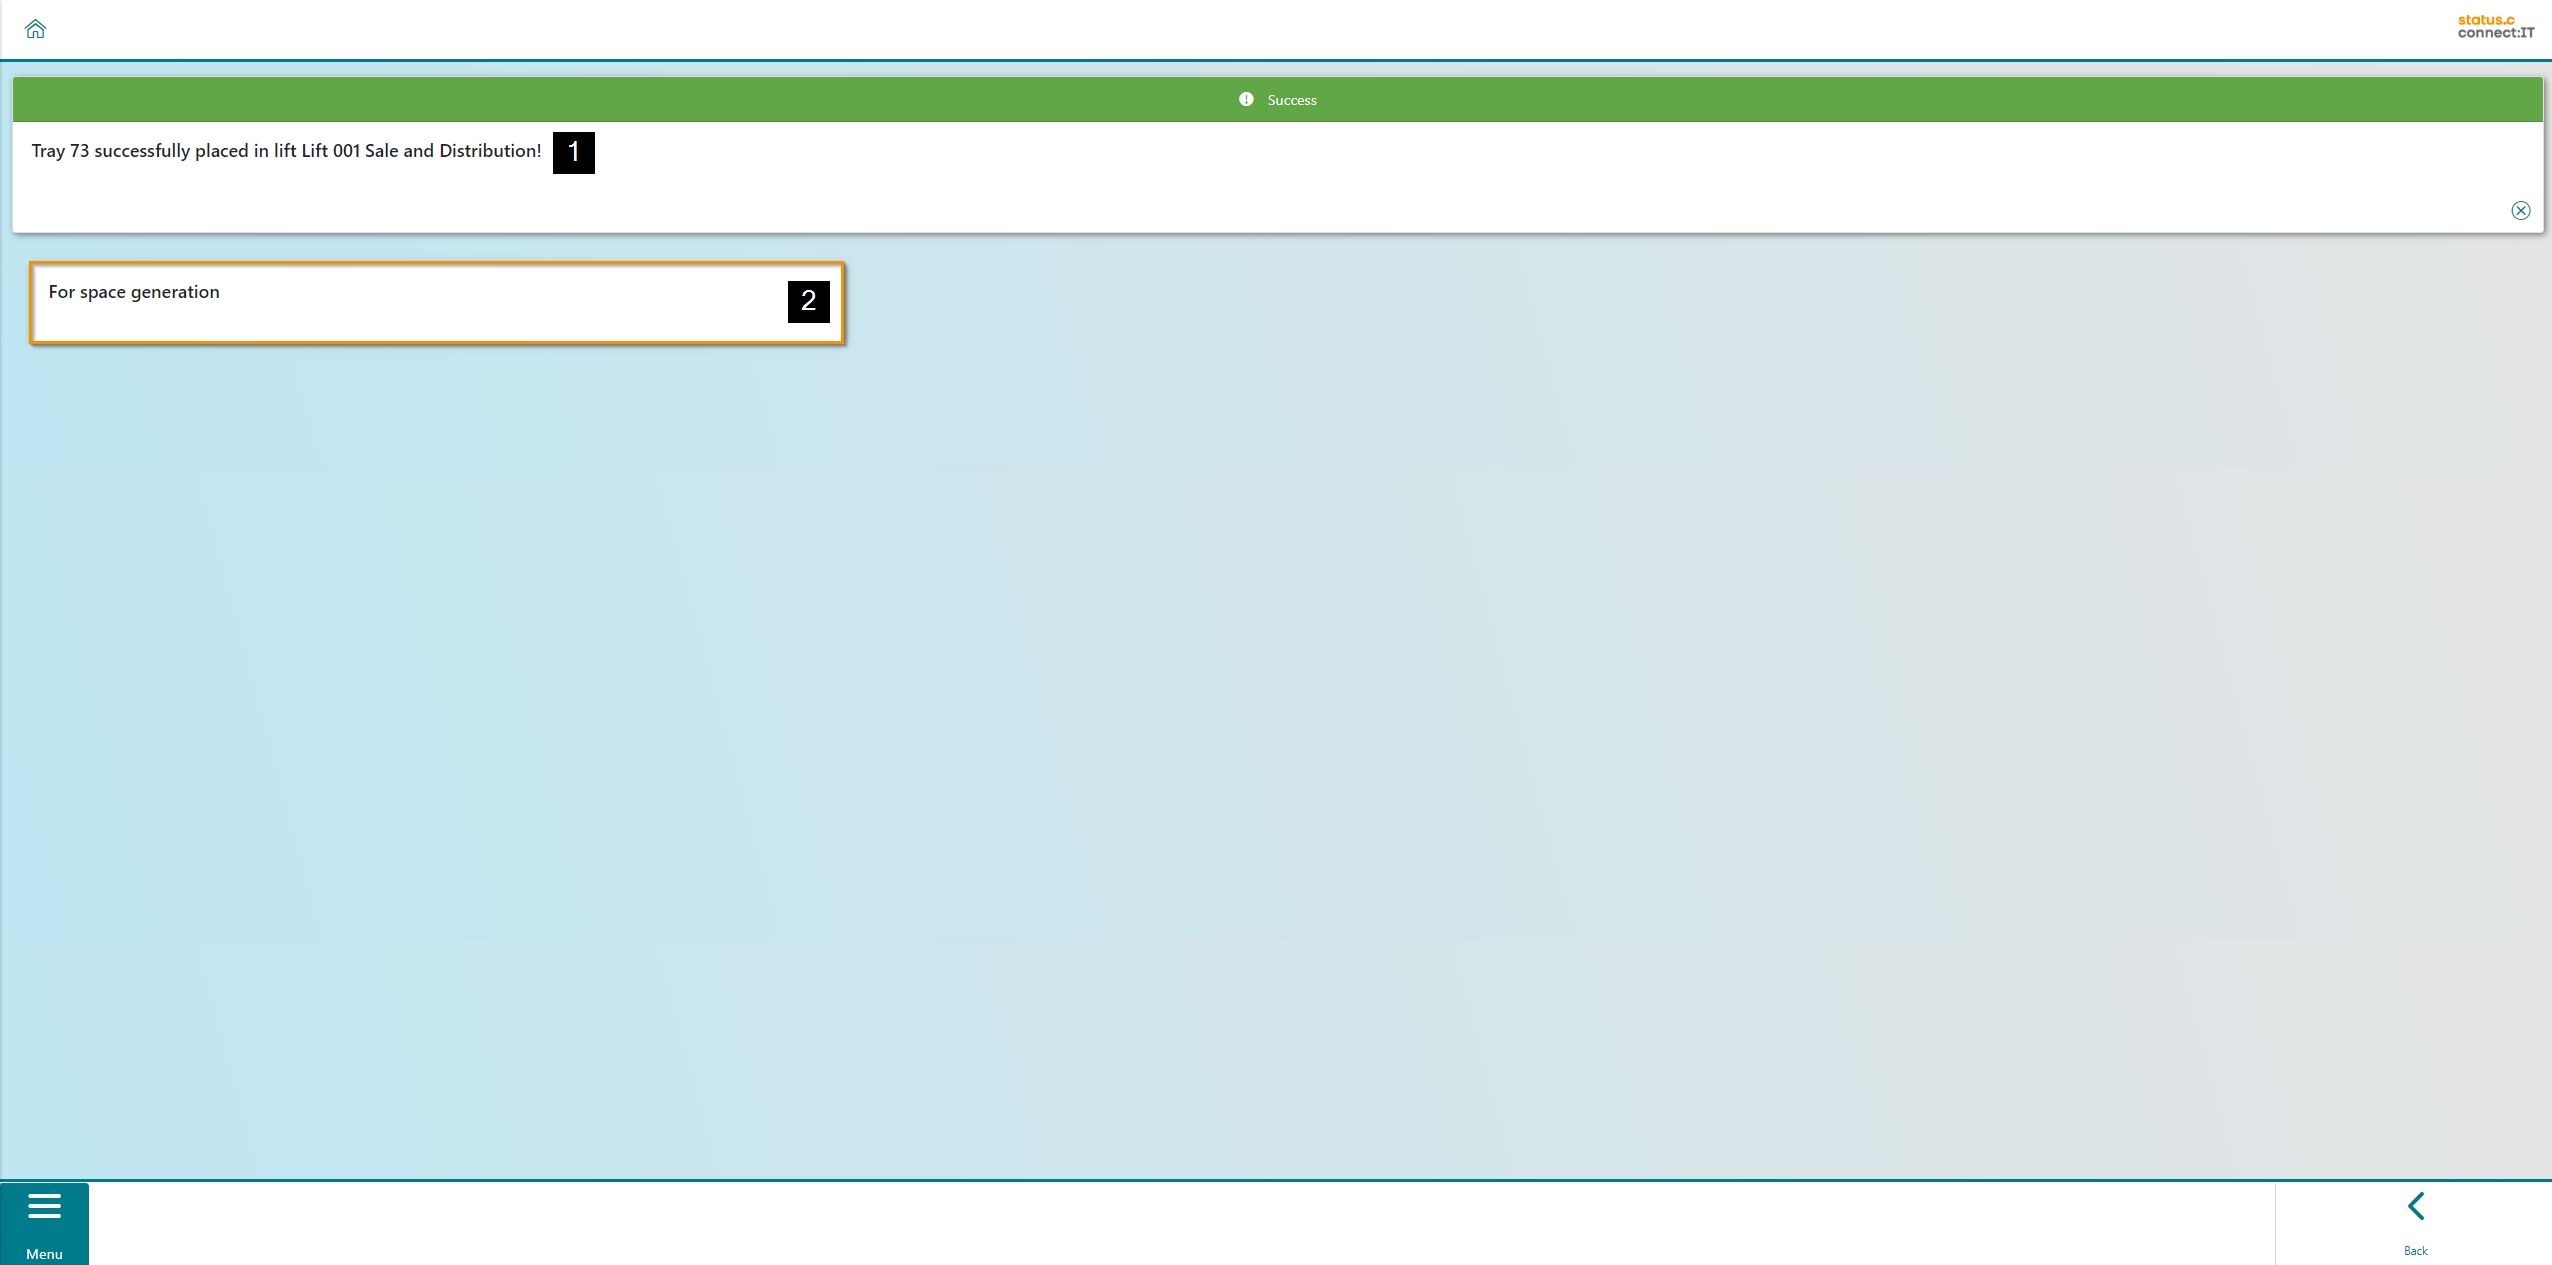
After confirming, a success message for the created tray is displayed (1). The user is now offered the option of generating space/bins for the tray that has just been created (2). The Generate spaces app can also be called up directly from the main menu.
Generating Space/Bins
Newly created trays, require new bins. This can be done directly in connect:IT.
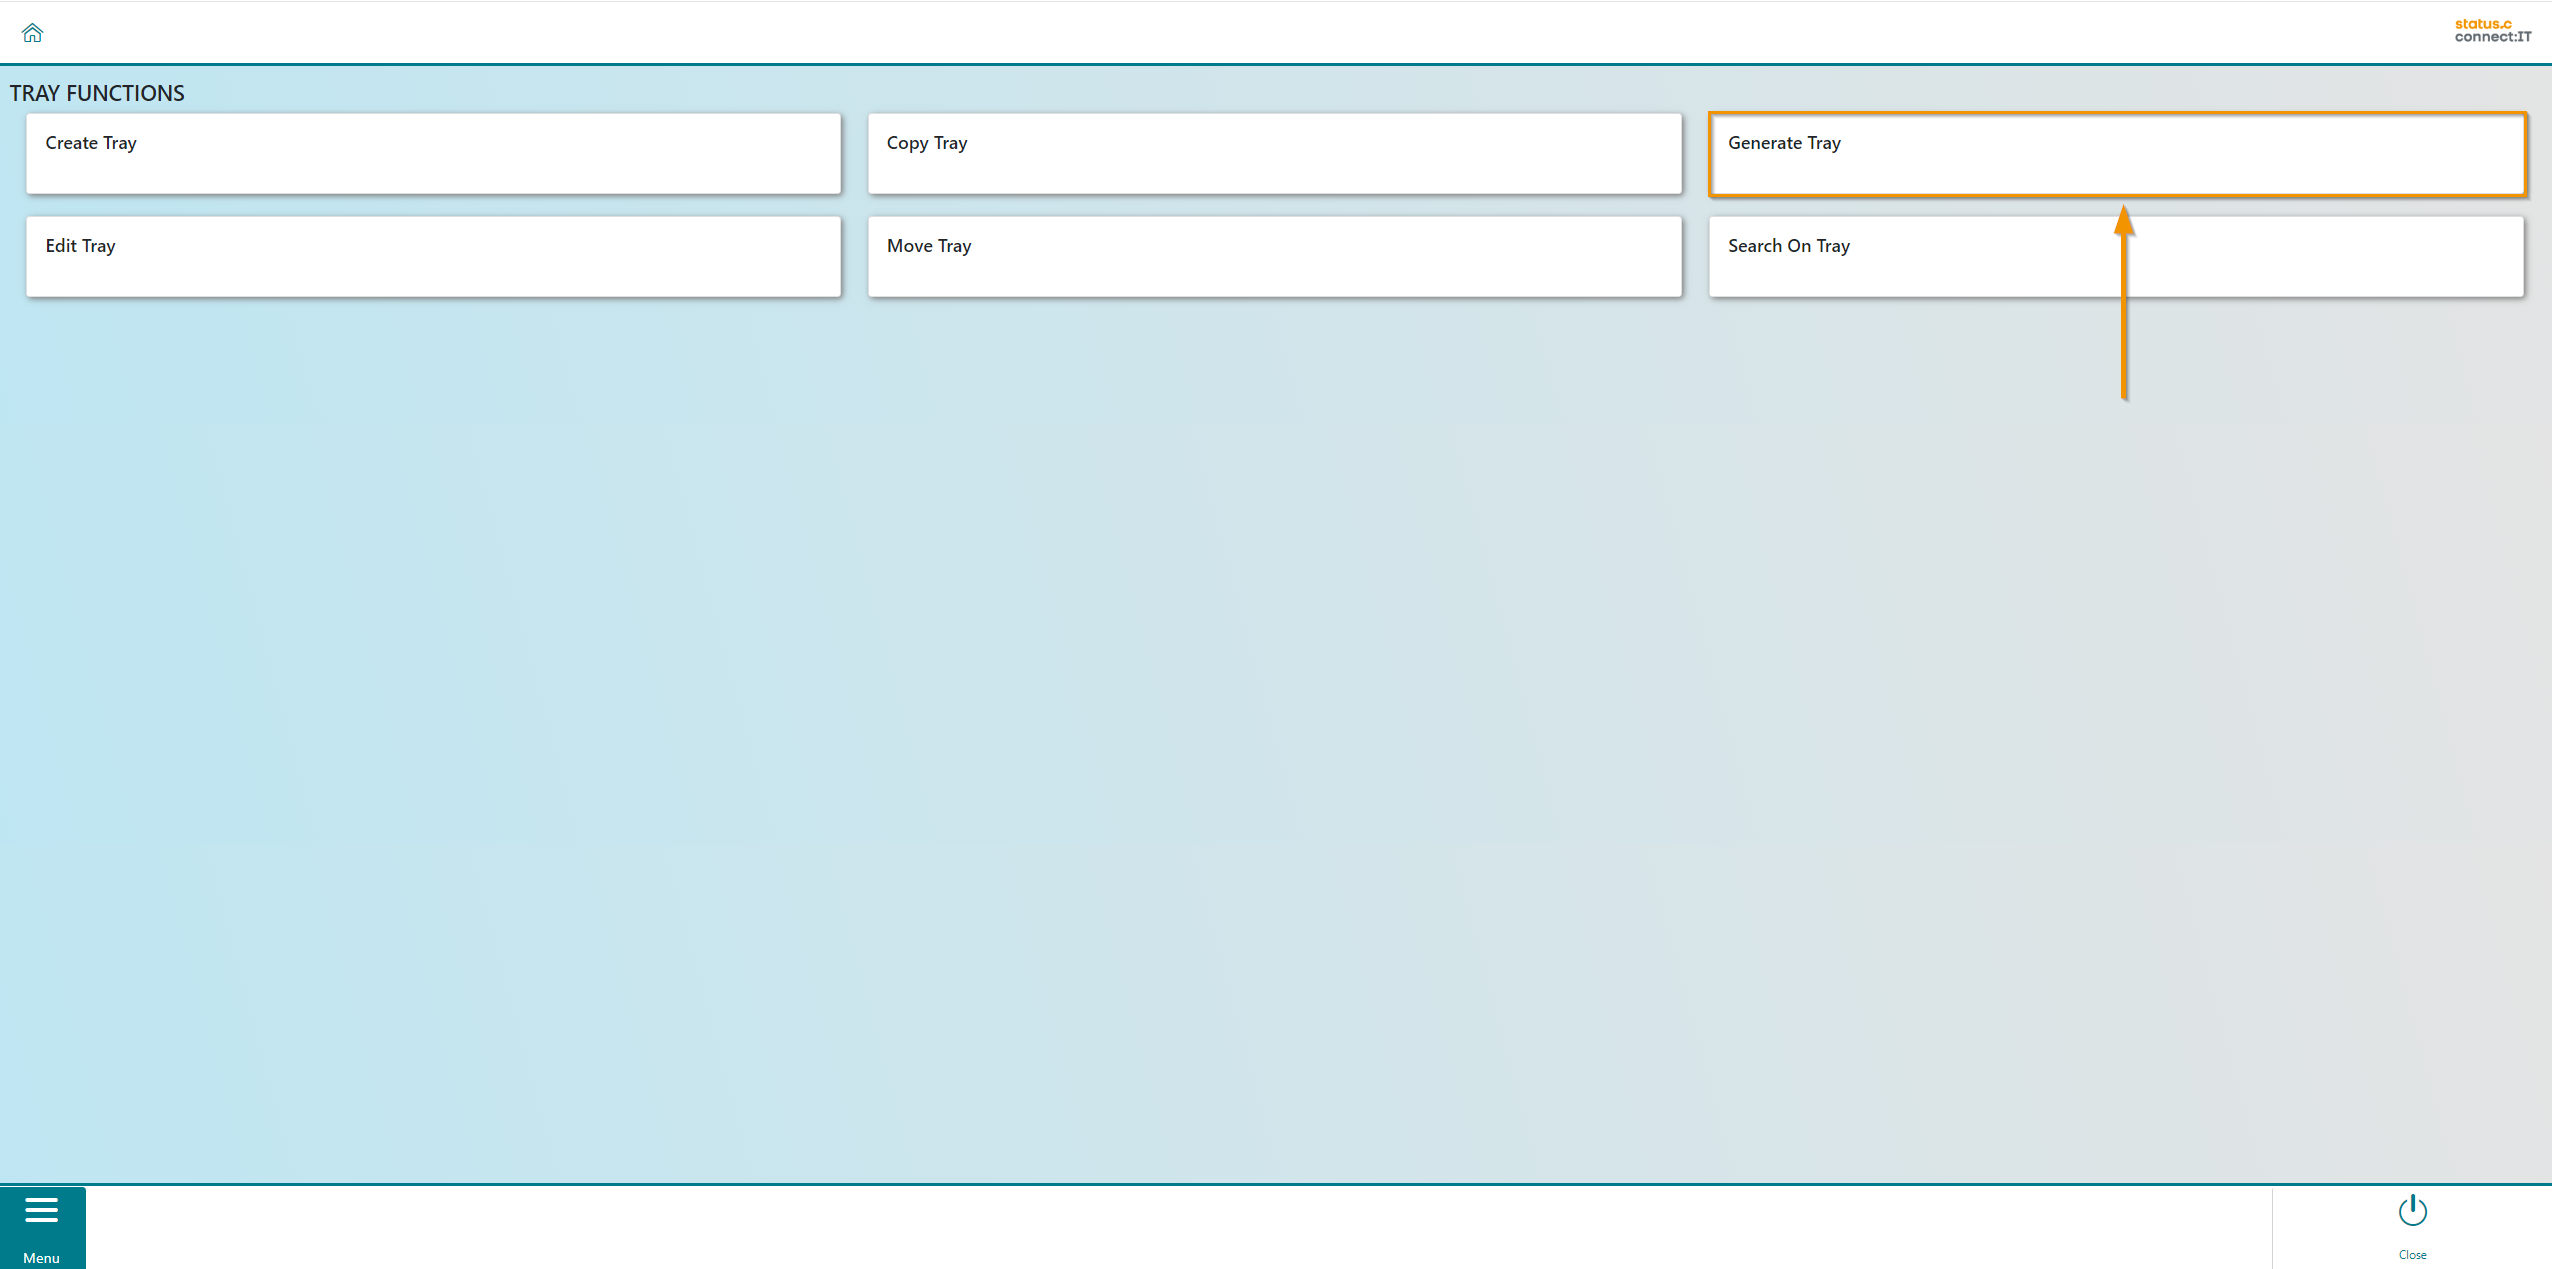
On the next screen, the user can either generate the bins from SAP storage bins or create the bins dynamically. The dynamic option is selected in the example.
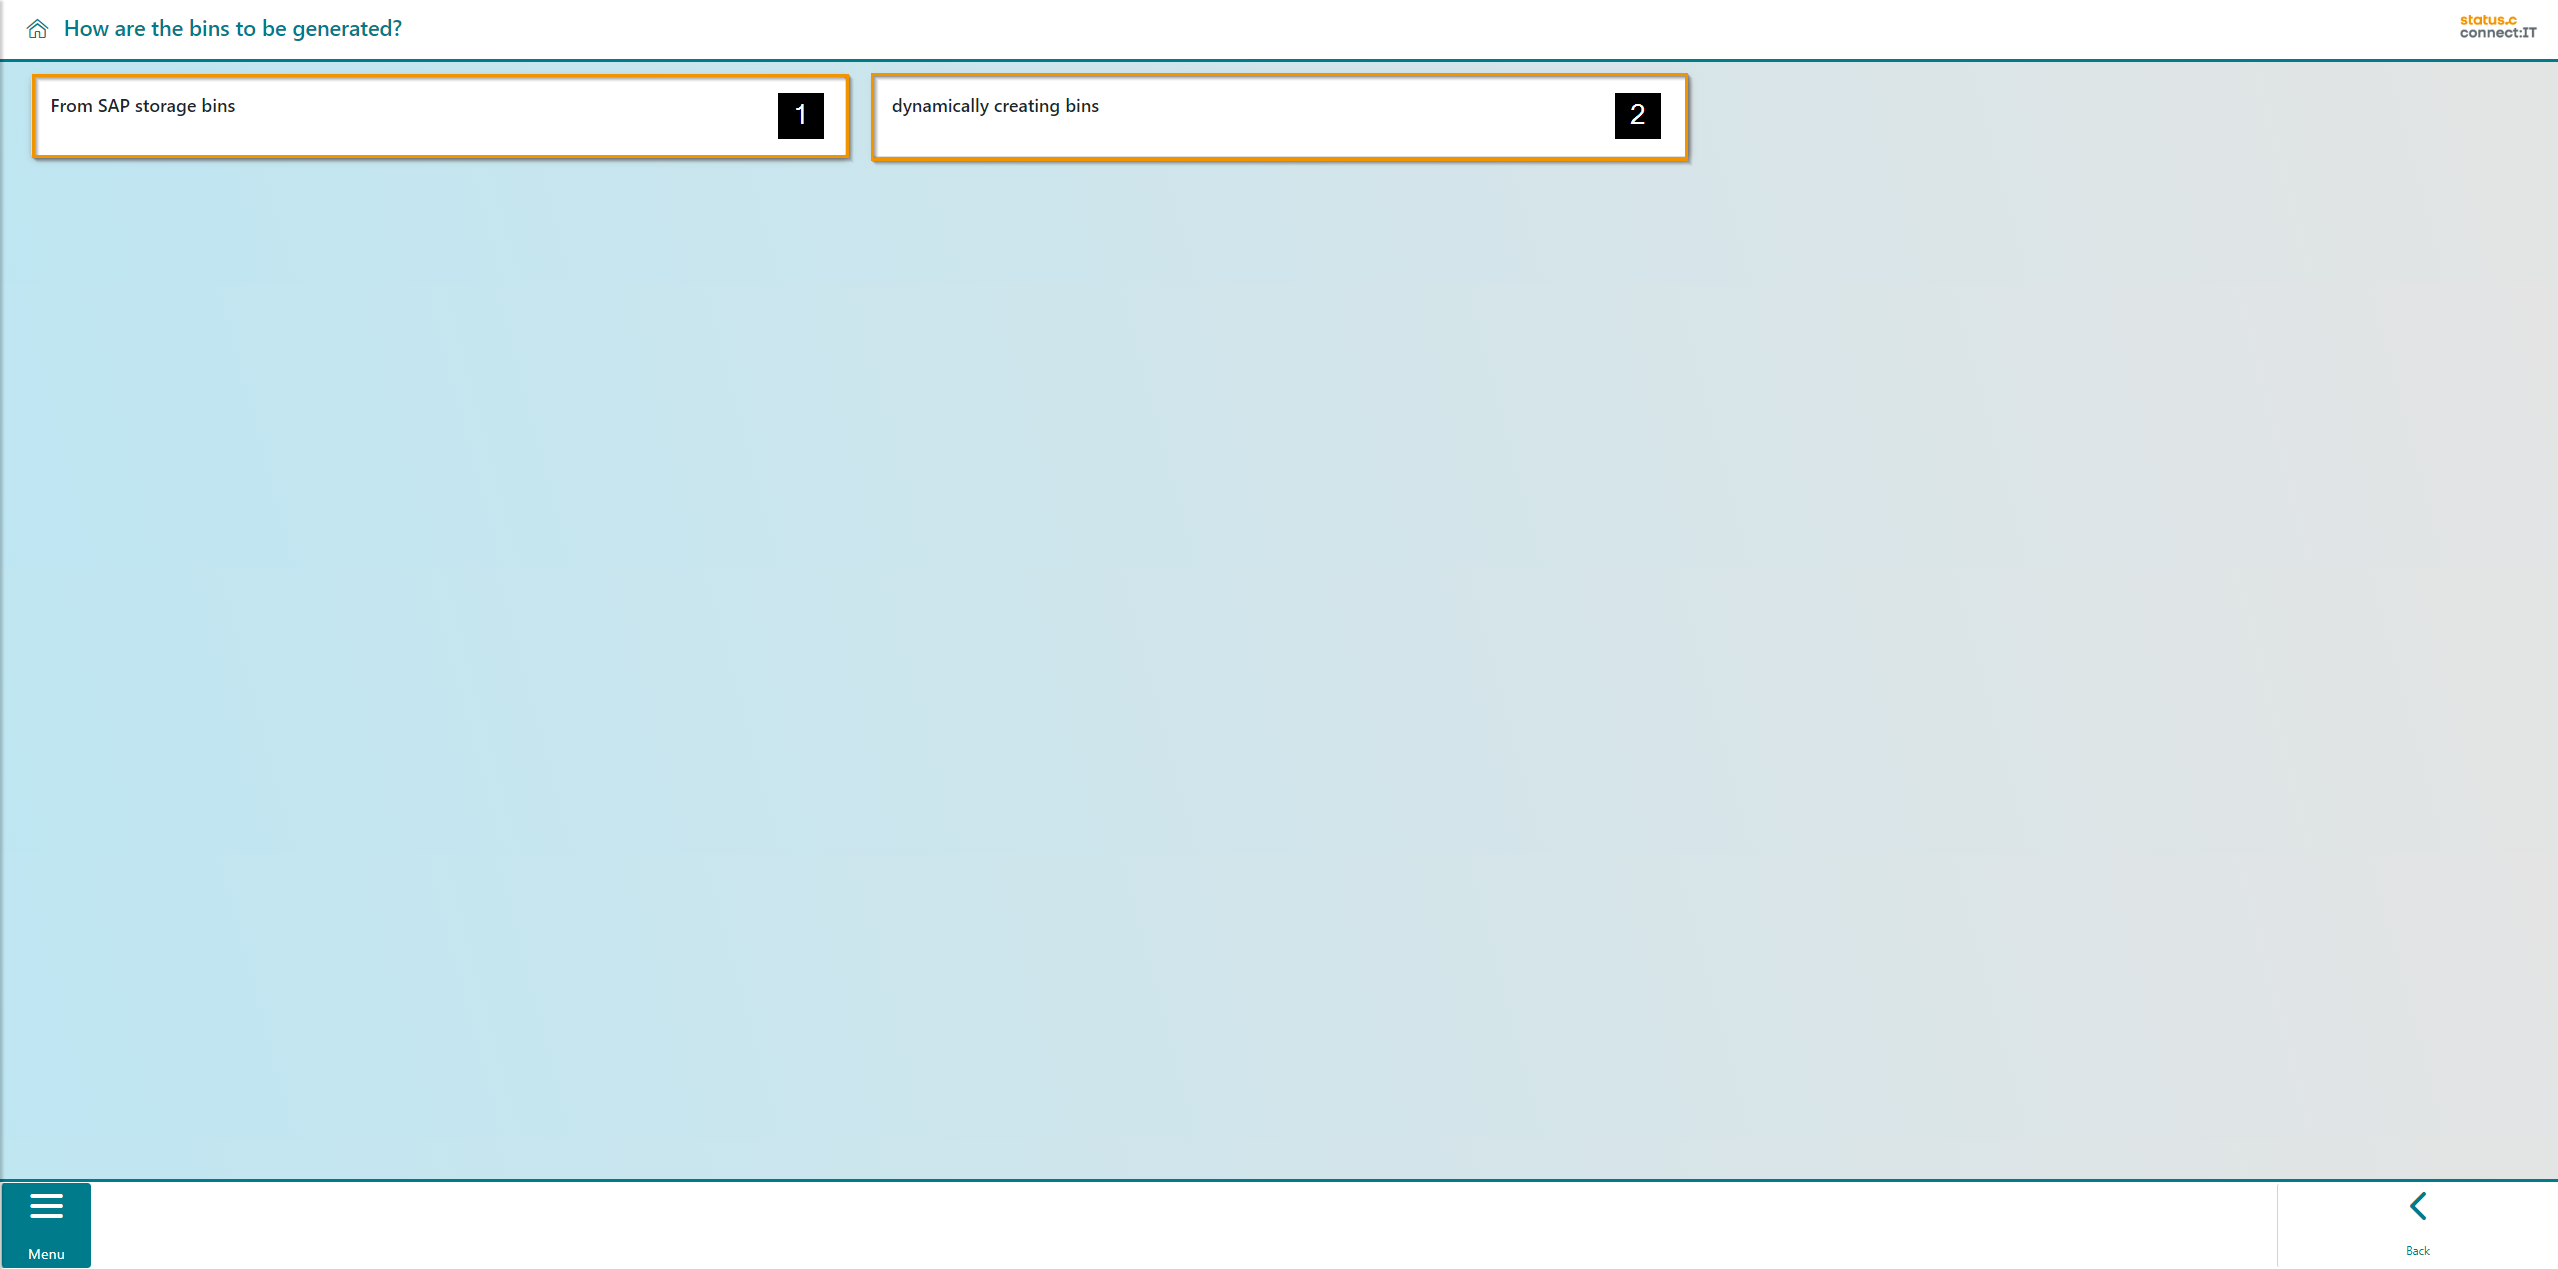
The following step is to choose the lift where the tray, whose bins are to be created, is located.
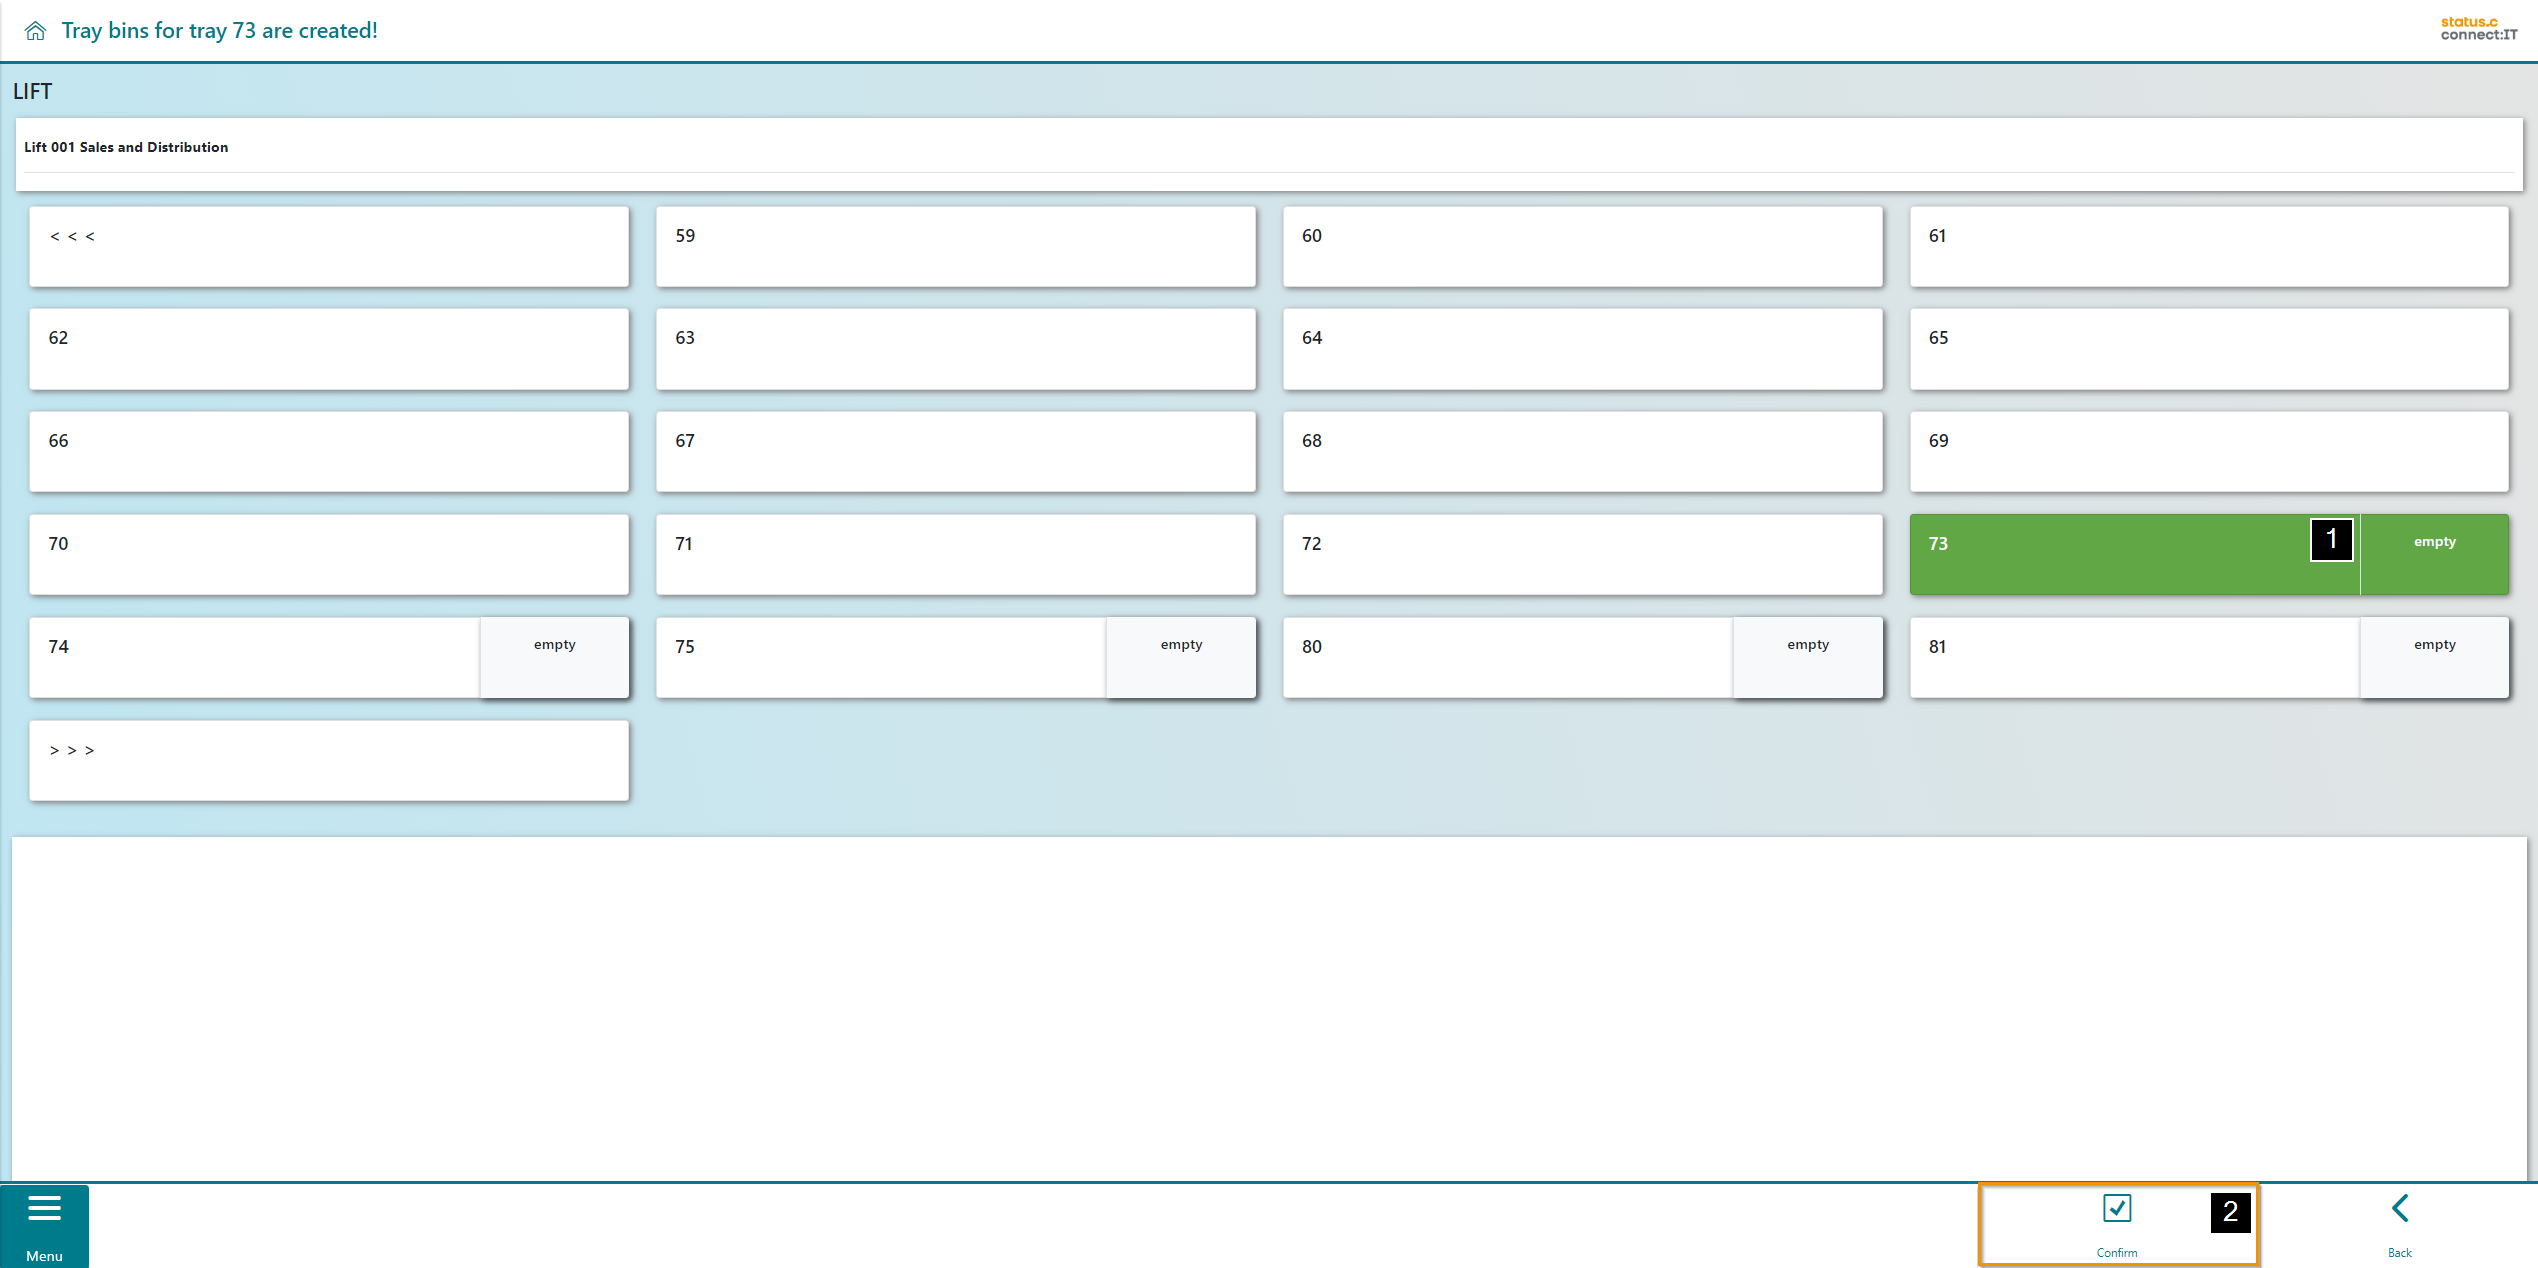
The user is now shown the trays in the lift. Trays that do not yet contain any bins are marked with an "EMPTY". In this example tray 73 is shown as empty (1). Select an empty tray and proceed by confirming (2).
The user is directed to the bin selection screen. Here they can choose between bins of different dimensions (1). After selecting one of the types, the user can pick between different options for generating the space/bins.
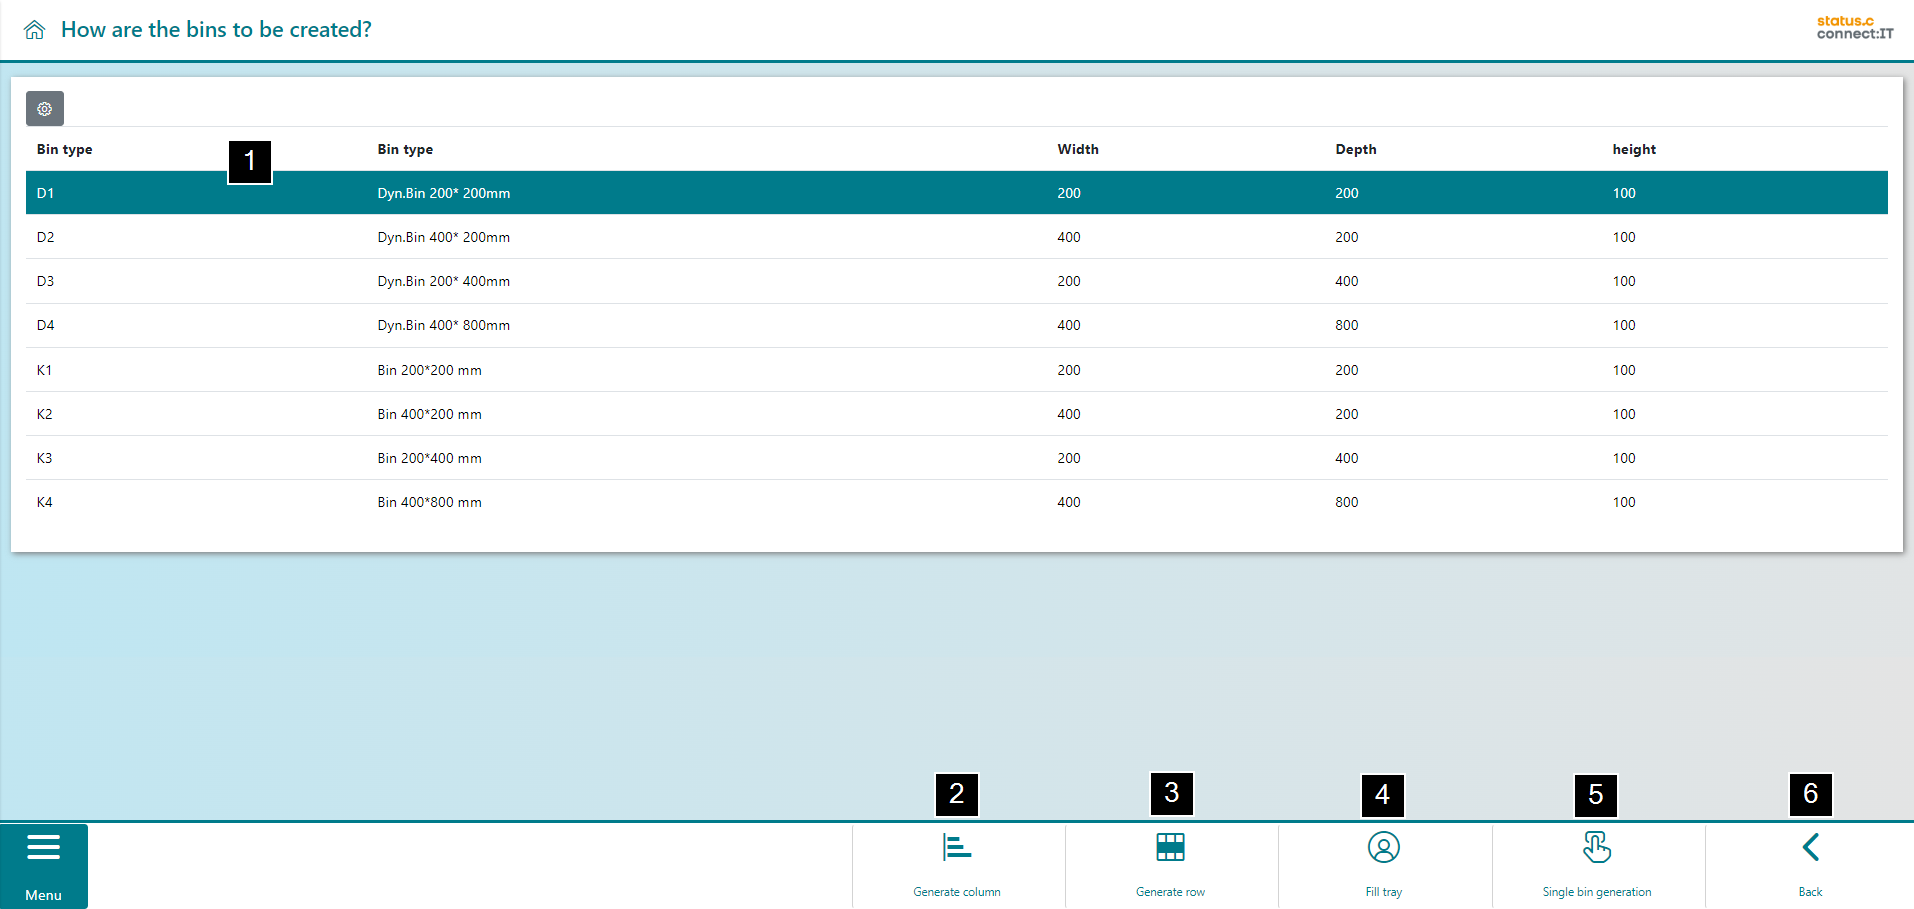
The various options for generating space/bins are shown below as examples.
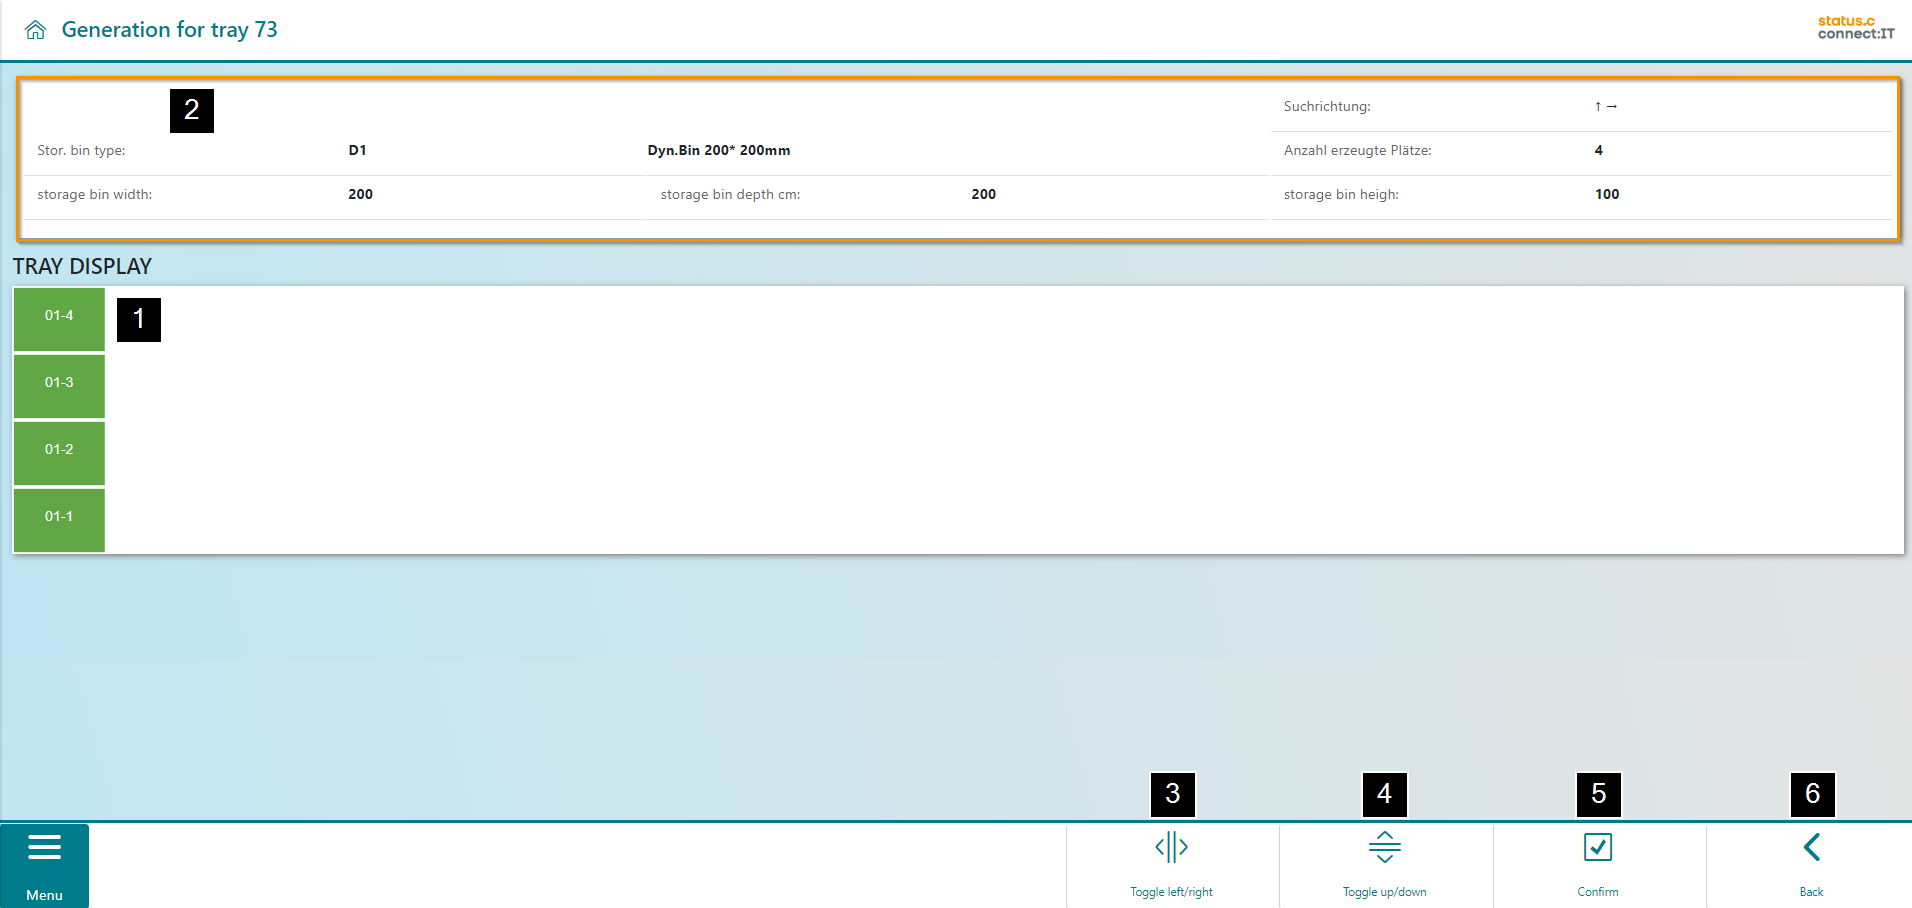
(2) Generate column:
An entire column of bins is generated with the selected bin type.(1) The information provides details of the search direction, the bin type, the bin width, depth and height, and the number of bins generated (2).
In the navigation bar, the bins can still be adjusted with regard to the side (3) and the direction (4) (not relevant in this case as the column is fully filled). If the bins are in the correct position, the creation can be saved with Confirm (5). With Back, the user can return to the bin type selection and the visualized column is discarded (6).
(3) Generate row:
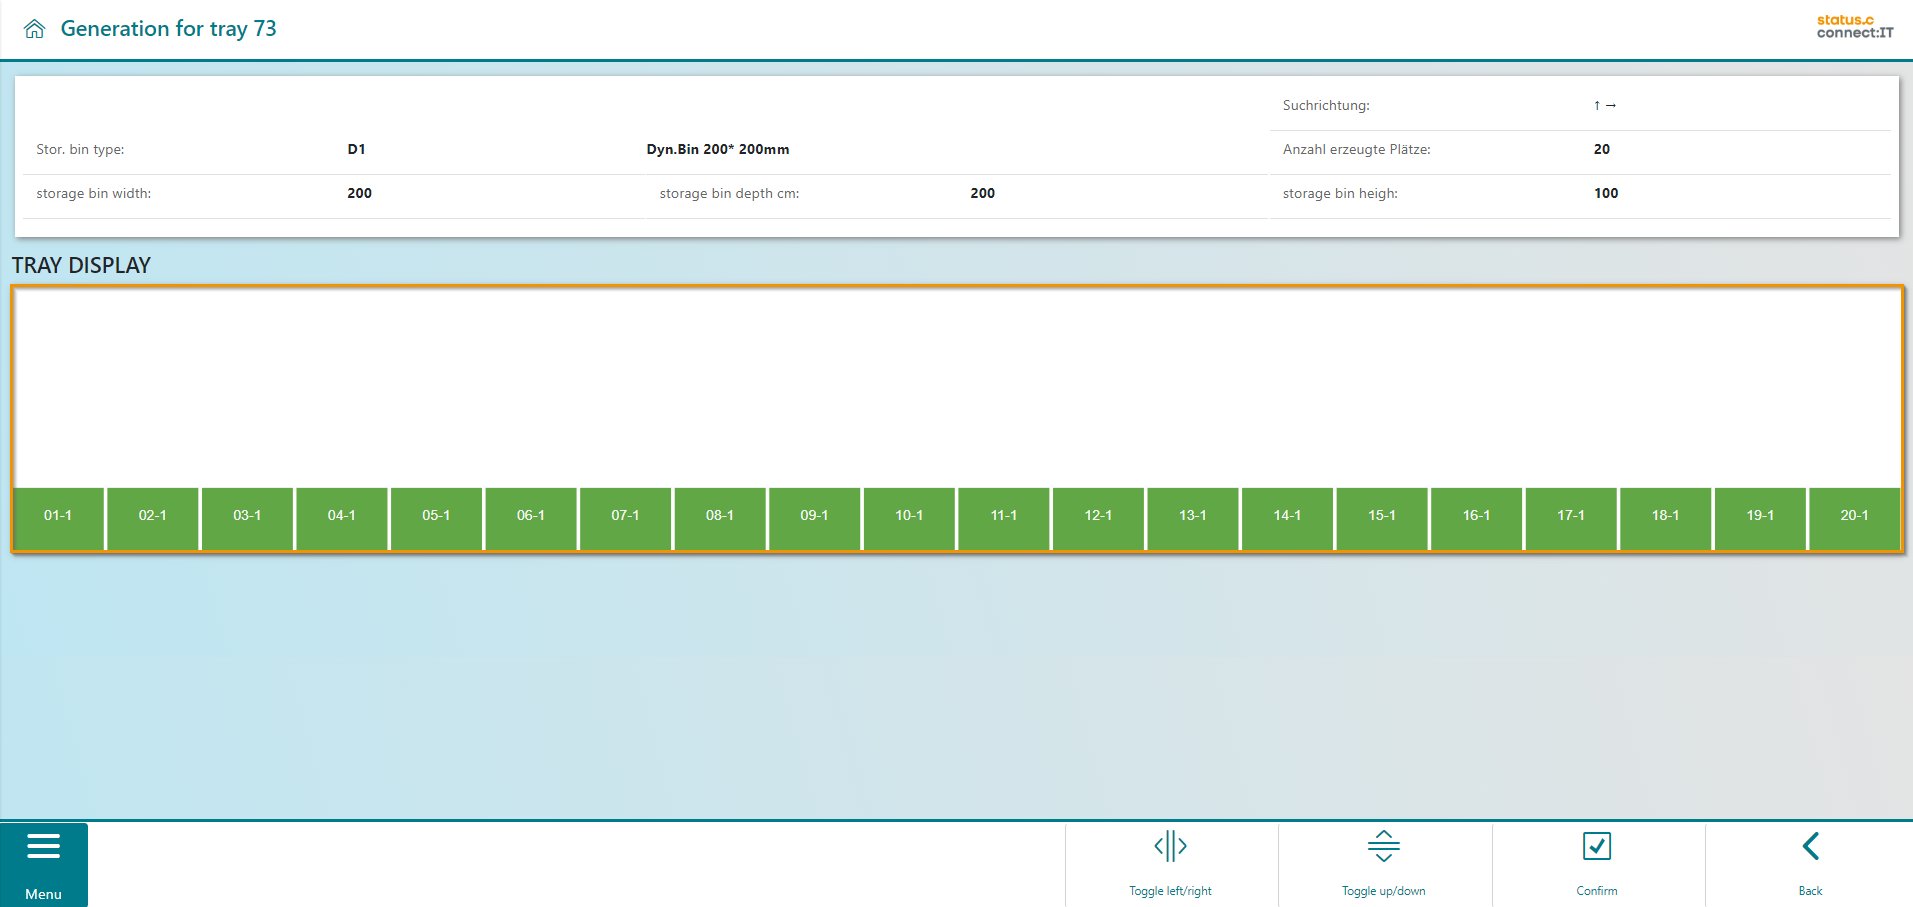
An entire row of bins is generated with the selected bin type. The "Toggle Up/Down" button allows moving the row from the top to the bottom or vice versa.
(4) Fill tray:
If all the bins on the tray have the same dimensions, it is worth simply filling the entire tray with the bin type. Changing the side or direction makes no sense in this case.
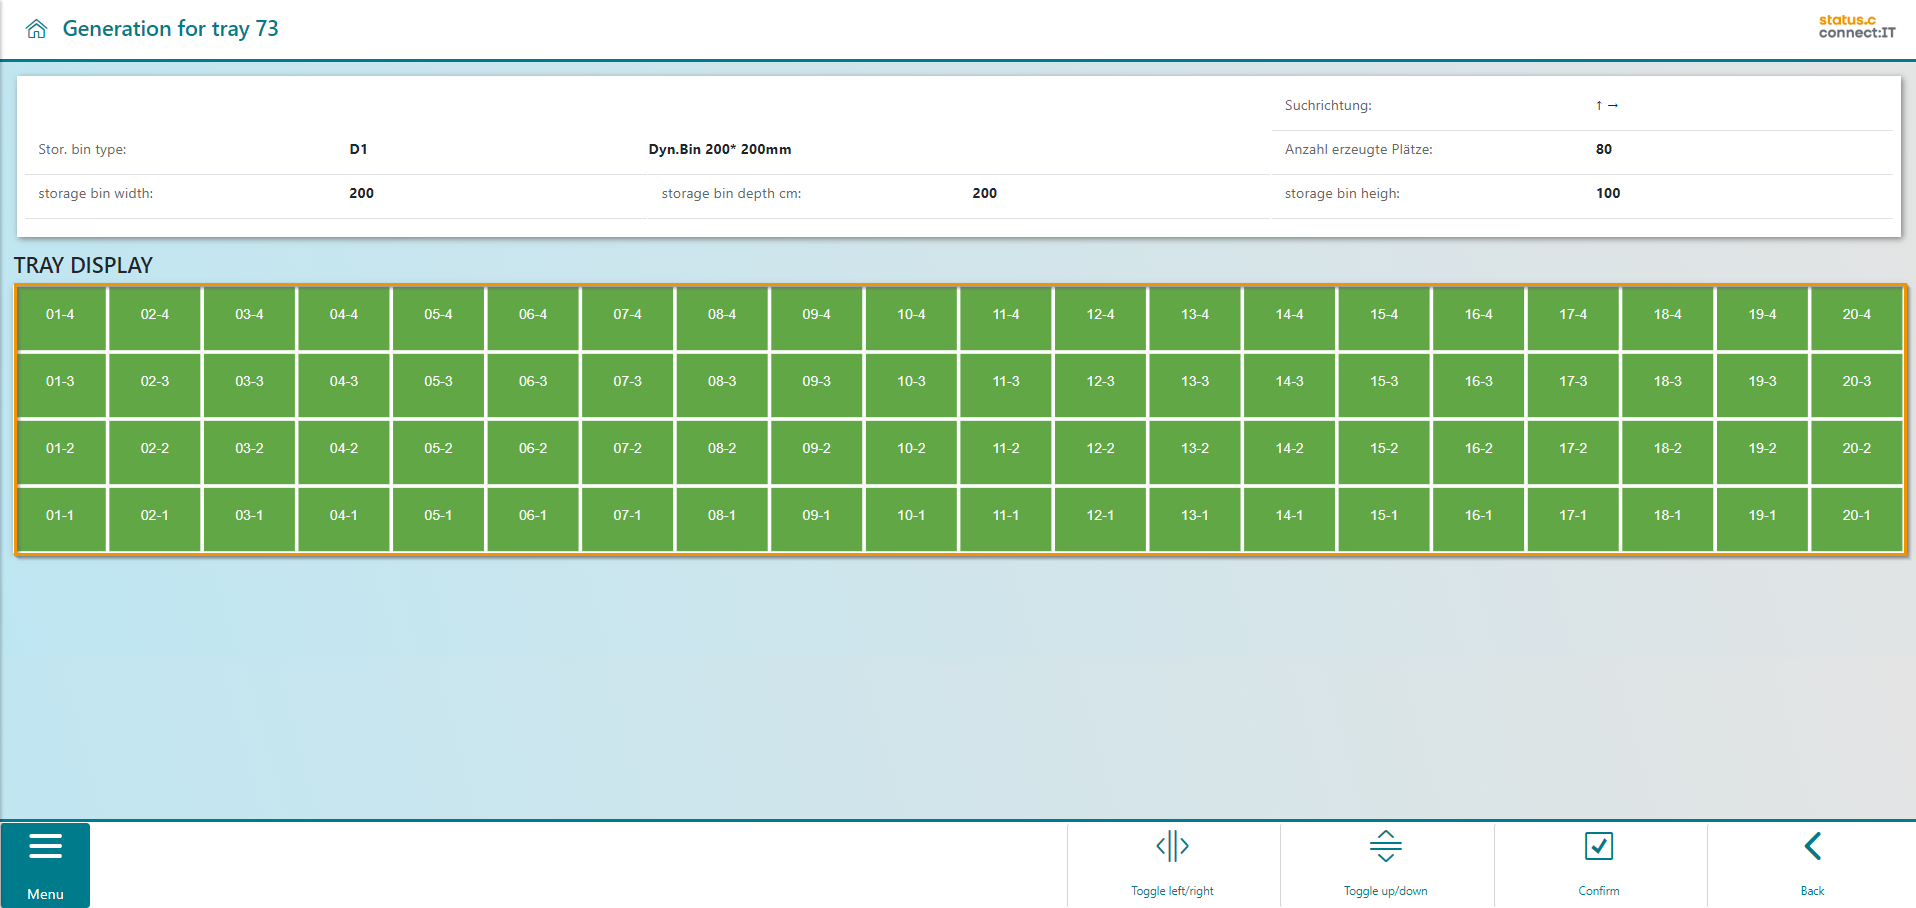
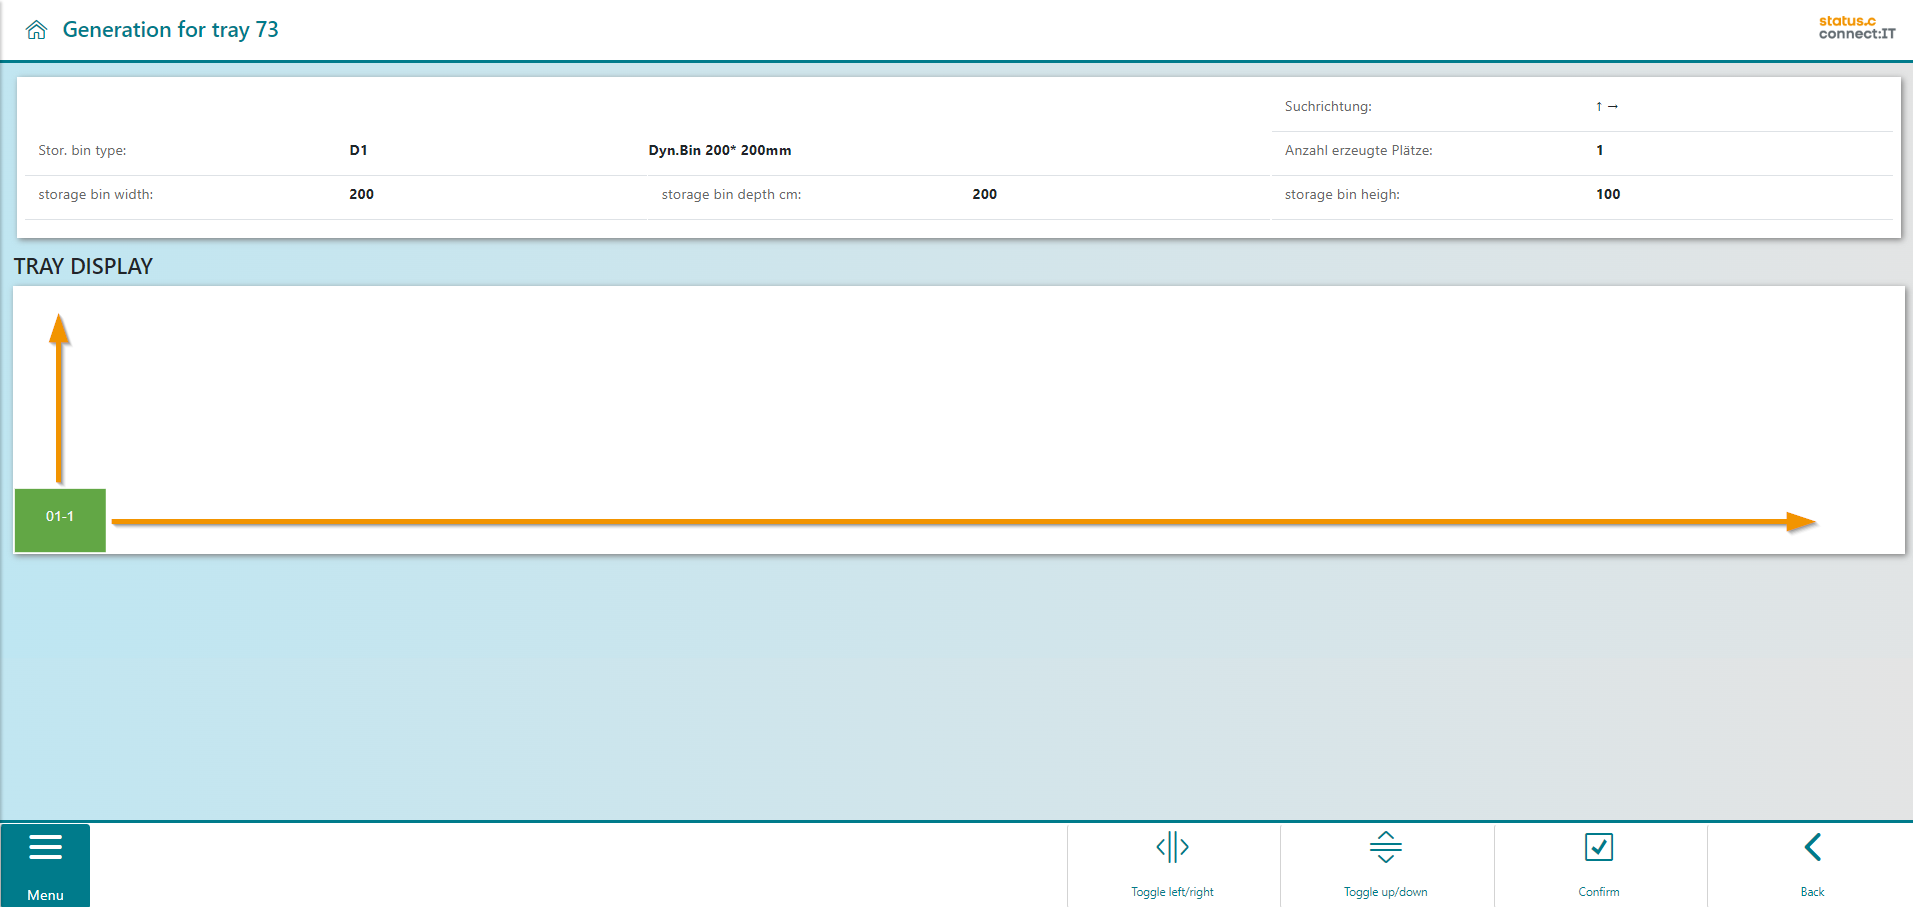
(5) Single bin generation:
With the "single bin generation", exactly one space is displayed on the tray. The space can still be repositioned using the buttons.
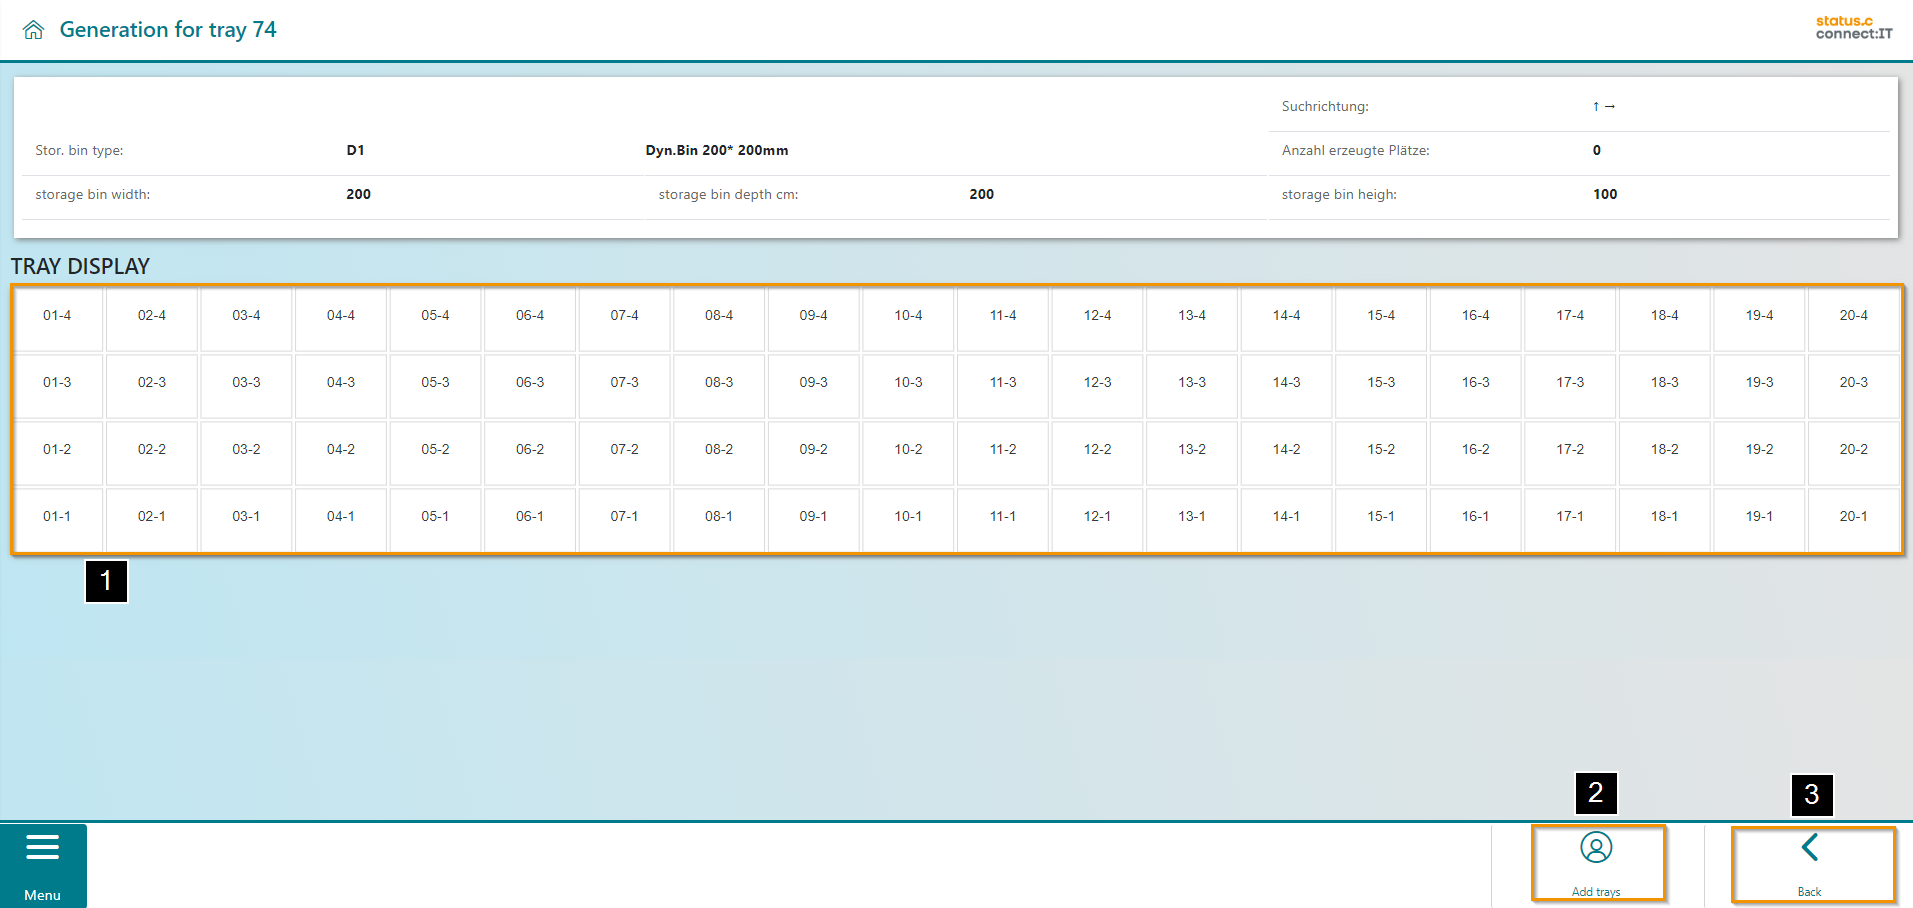
Once the tray has been filled and confirmed, the bins are not displayed in green, as in the simulation, but rather in gray (1). If there are still free spaces, these can be filled using the "Add trays" button that appears (2), otherwise the space generation can be ended with Back (3).
Copy tray
The "Copy Tray" function is useful if there are several trays with the same bin layout. The corresponding app is available in the Tray Apps overview.
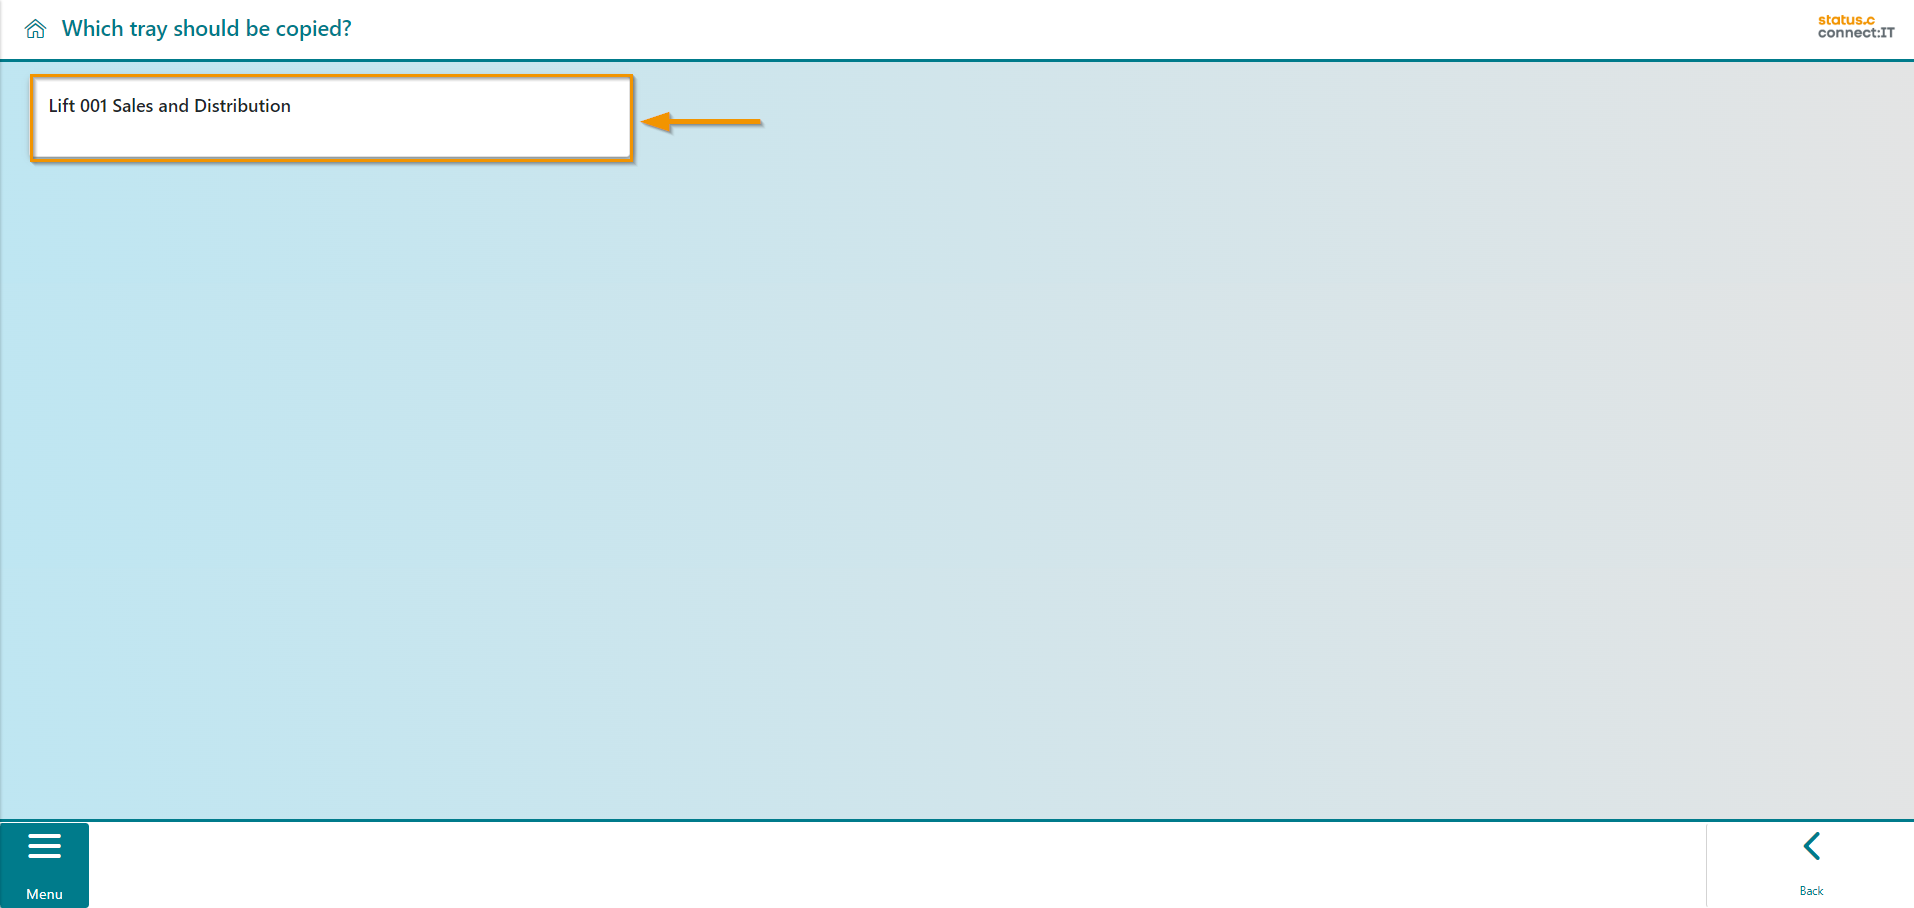
Now, select the lift where the tray to be copied is located.
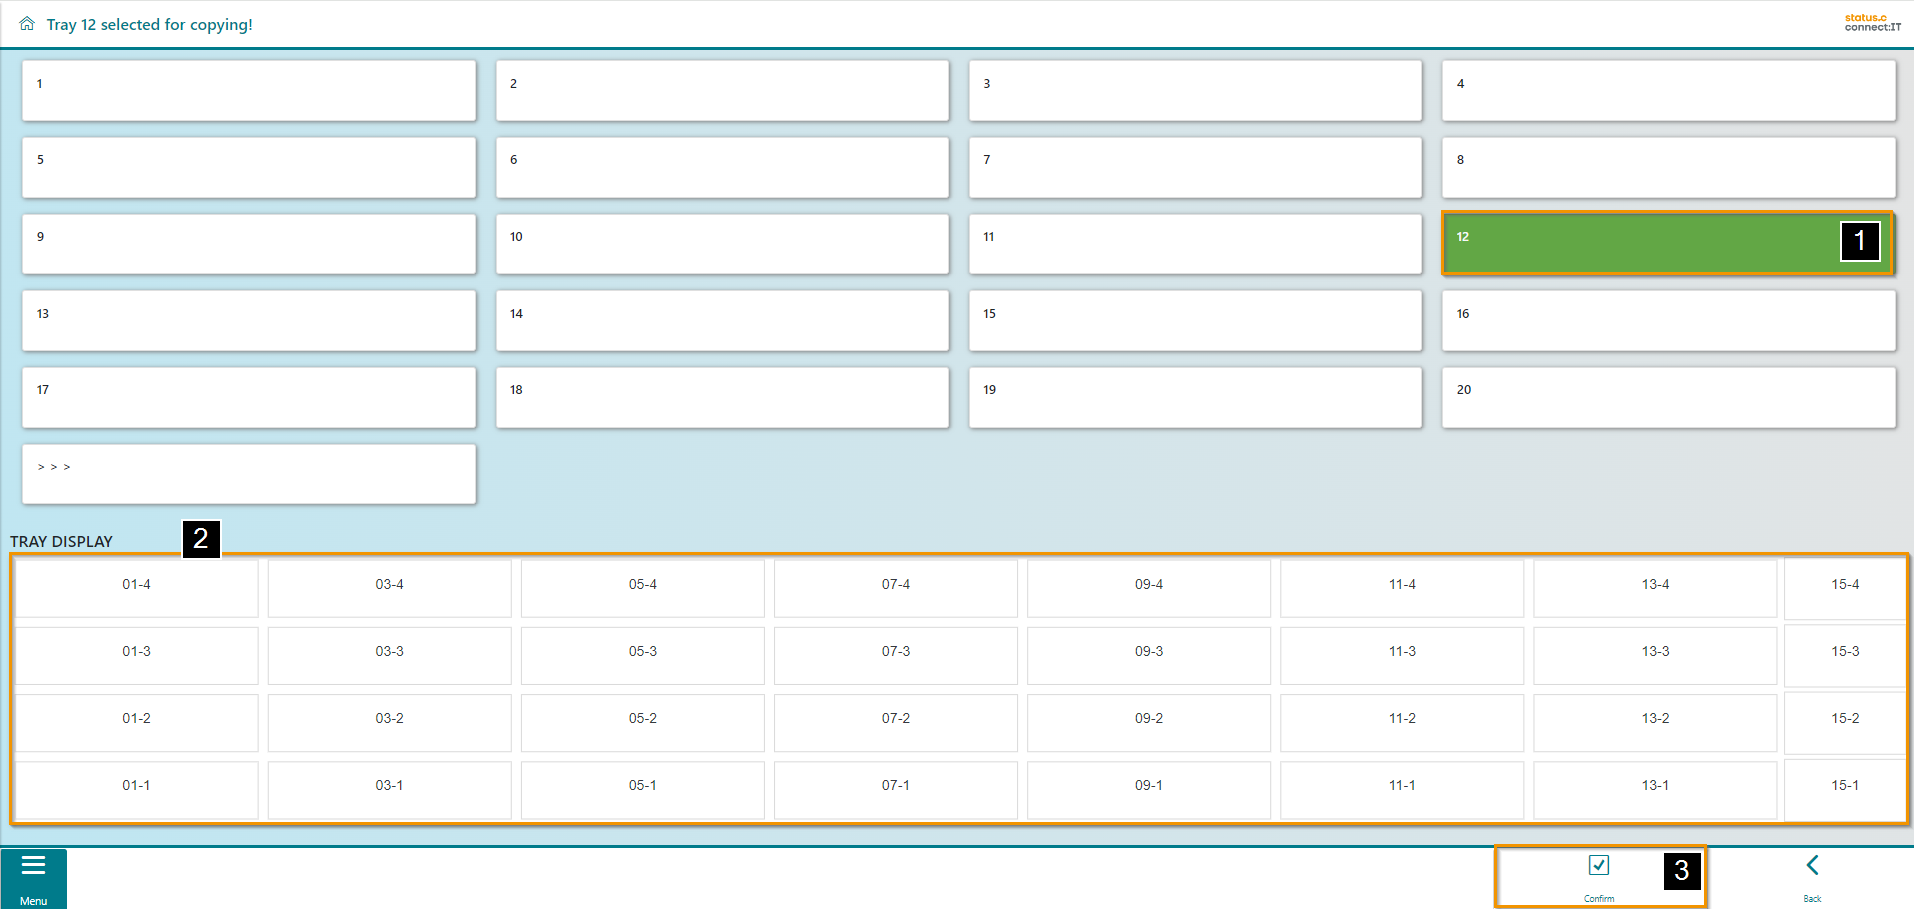
All trays of the lift are now displayed to the user. Tray 12 is selected in this example (1). A visualization of the bin locations appears in the middle of the screen (2). "Confirm" to copy the tray (3).
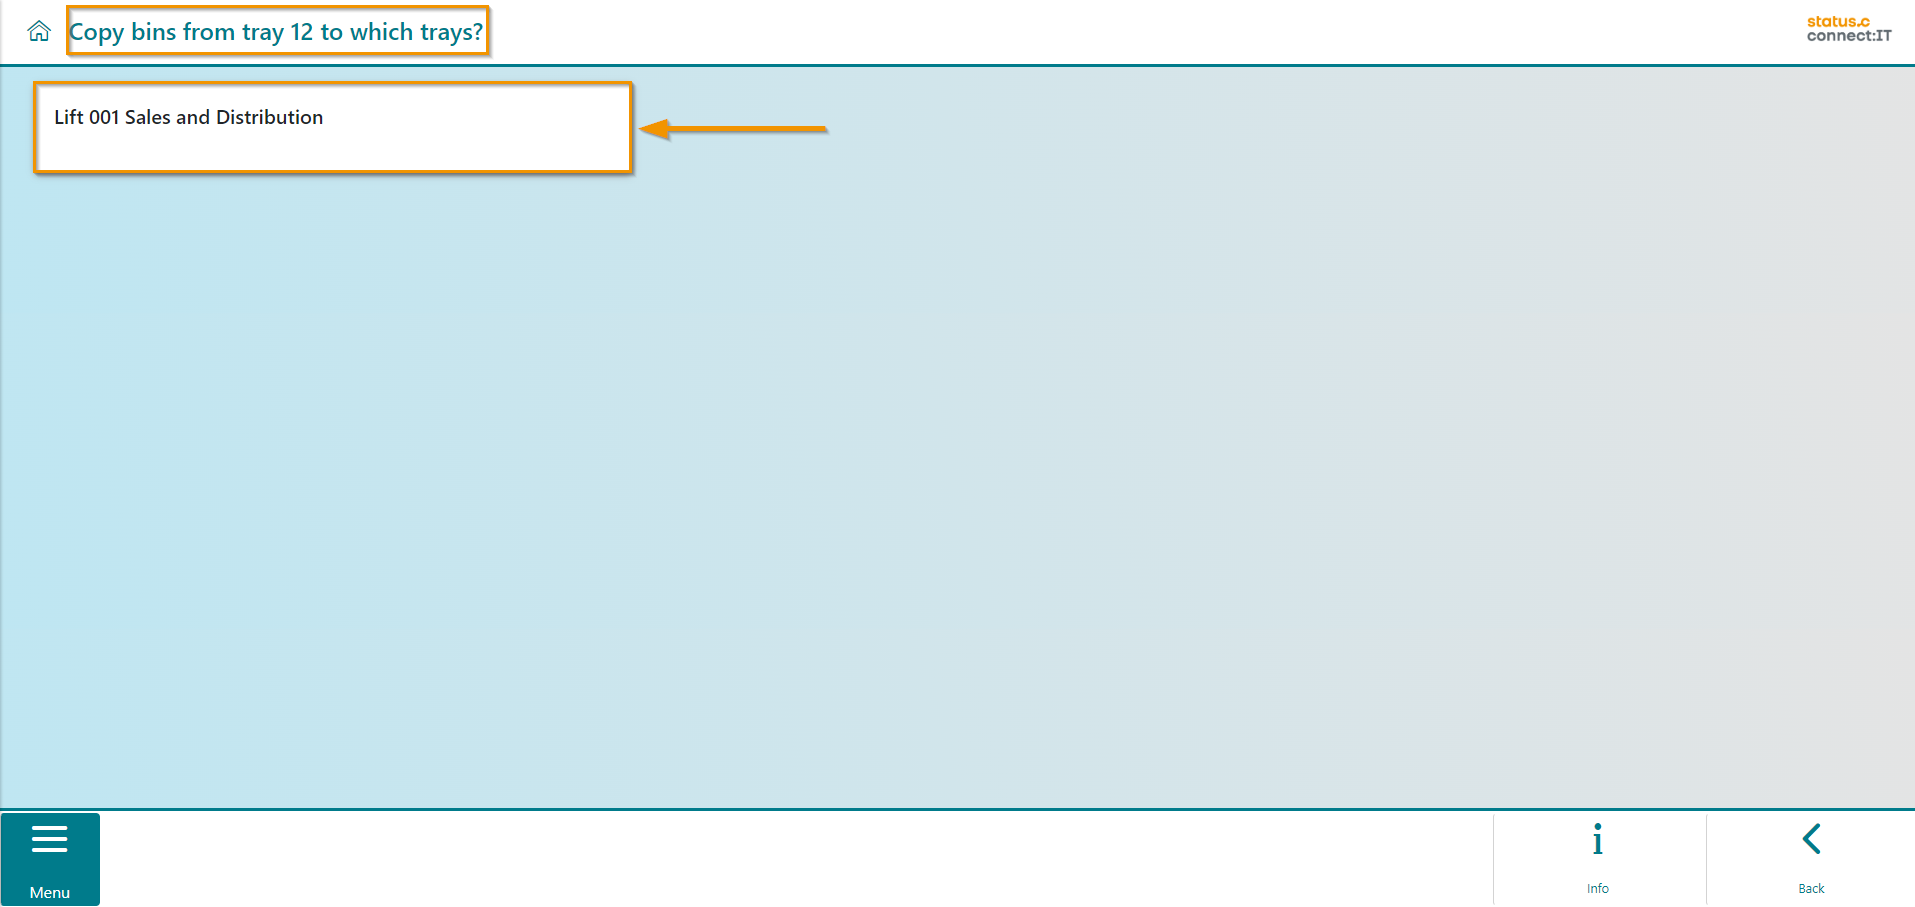
After confirmation, the user is asked which tray the copied bins should be transferred to. To do this, they must first select the lift.
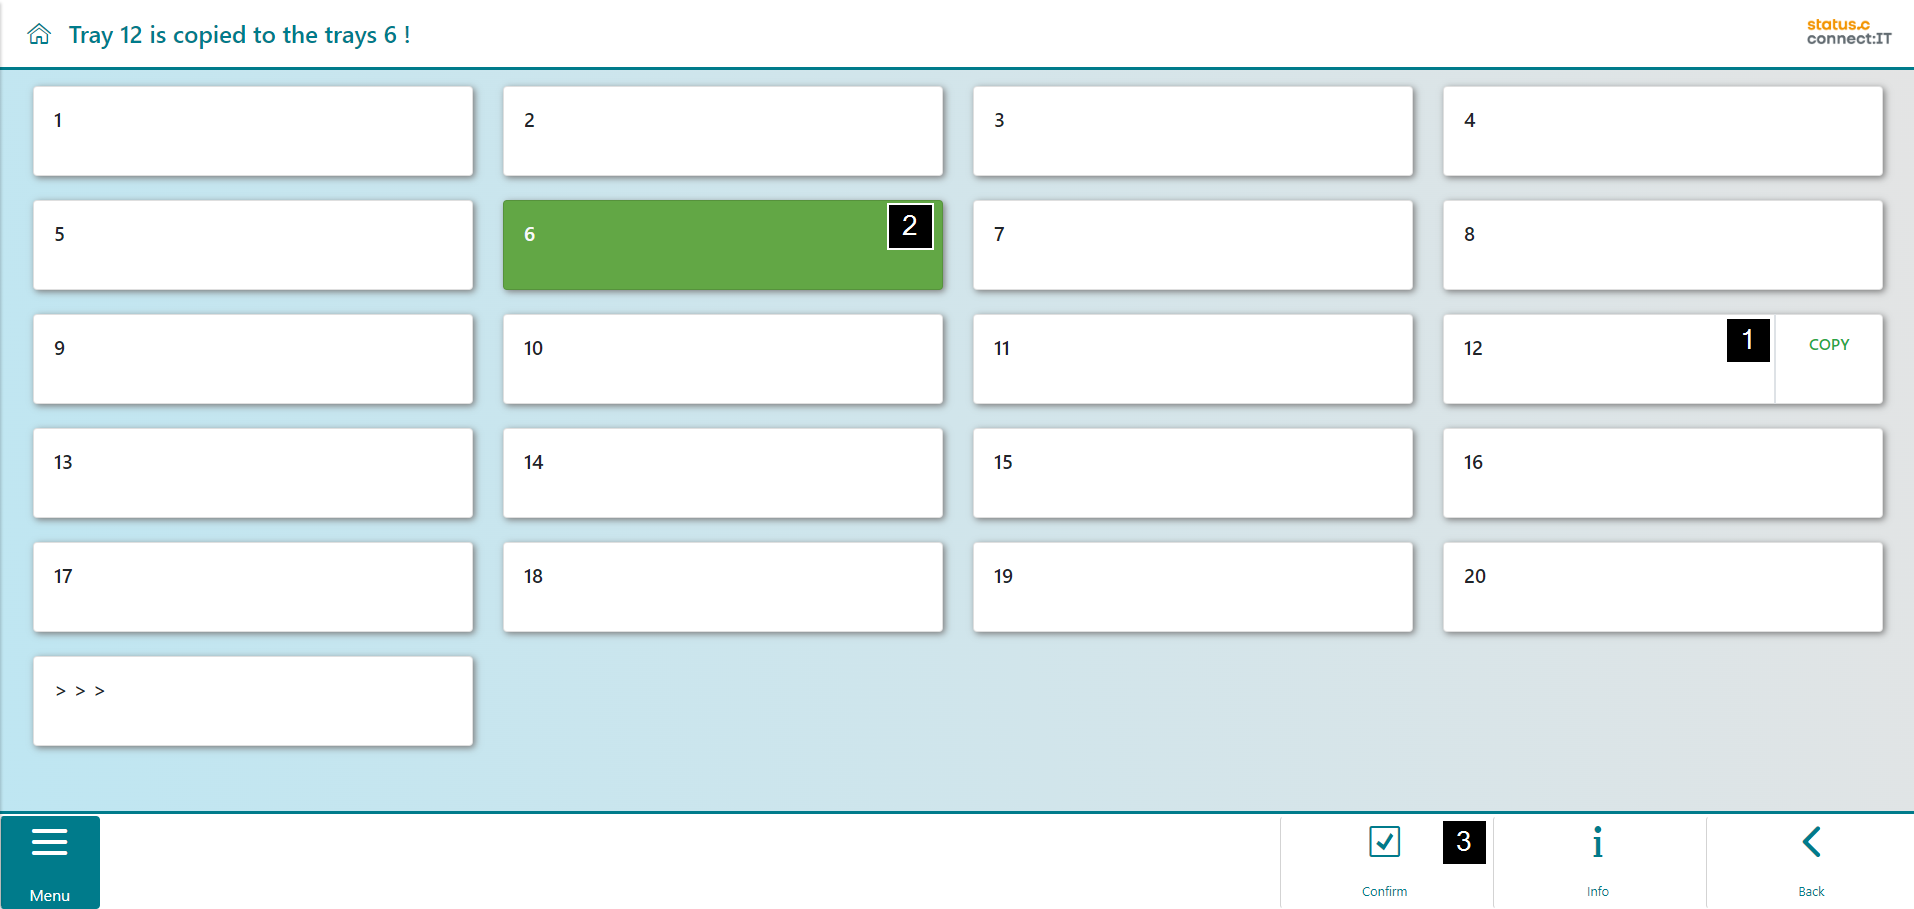
All trays of the lift are displayed to the user. Tray 12 is marked as the copy template (1). Next, select the tray to which the bins from tray 12 will be copied. It is possible to select several trays. In the example, tray 6 is selected (2). Click on "Confirm"(3) to create tray 6 from the template of tray 12.
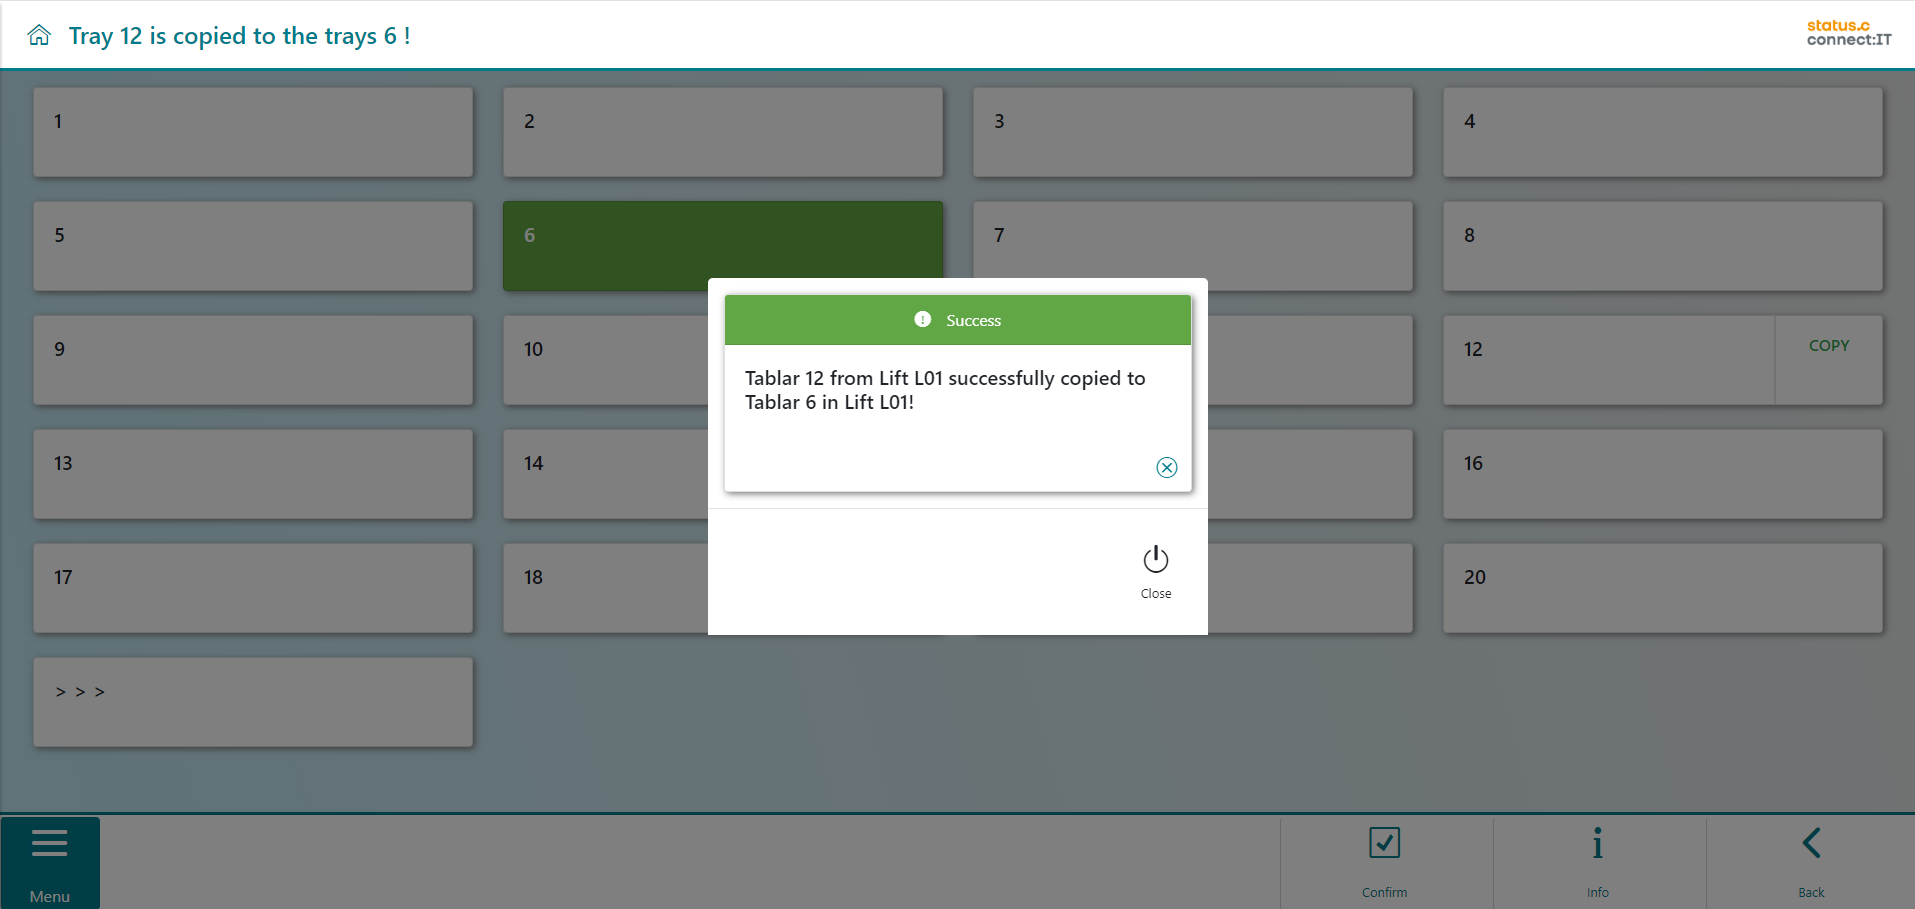
After confirming, a success message is displayed to the user. Tray 6 was created as a result of the copying process.
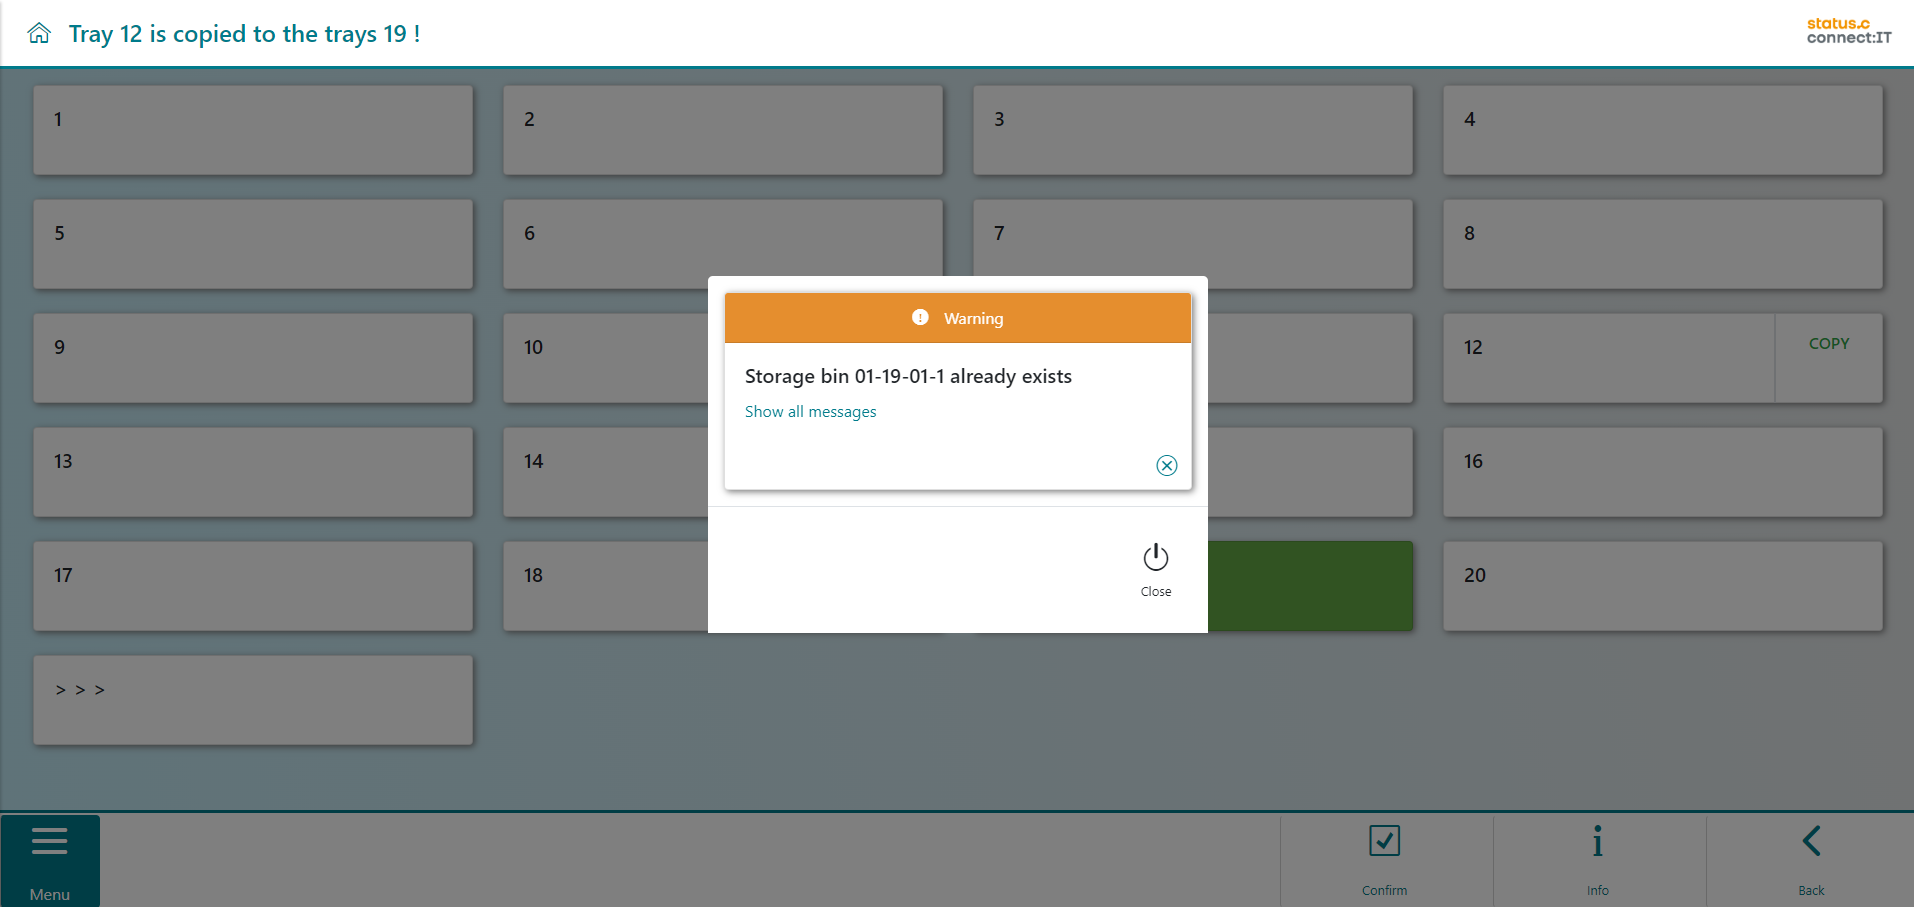
If a tray is chosen, and it contains bins where bins already exist in the copy template, an error message will be displayed. In the example, a copy is to be made to tray 19. However, storage bins already exist there.
To transfer the bins from tray 12 to tray 19, the bins on tray 19 must first be deleted manually.
